🚀 Just launchedApple UI design taste for AI agents — create polished UIs using Apple’s design style.Try it now
Screenshot to Code in Windframe
Step-by-step guide: upload a screenshot, generate editable UI, and continue refining in canvas.
Use this when you already have a design screenshot and want Windframe AI to recreate it as editable UI.
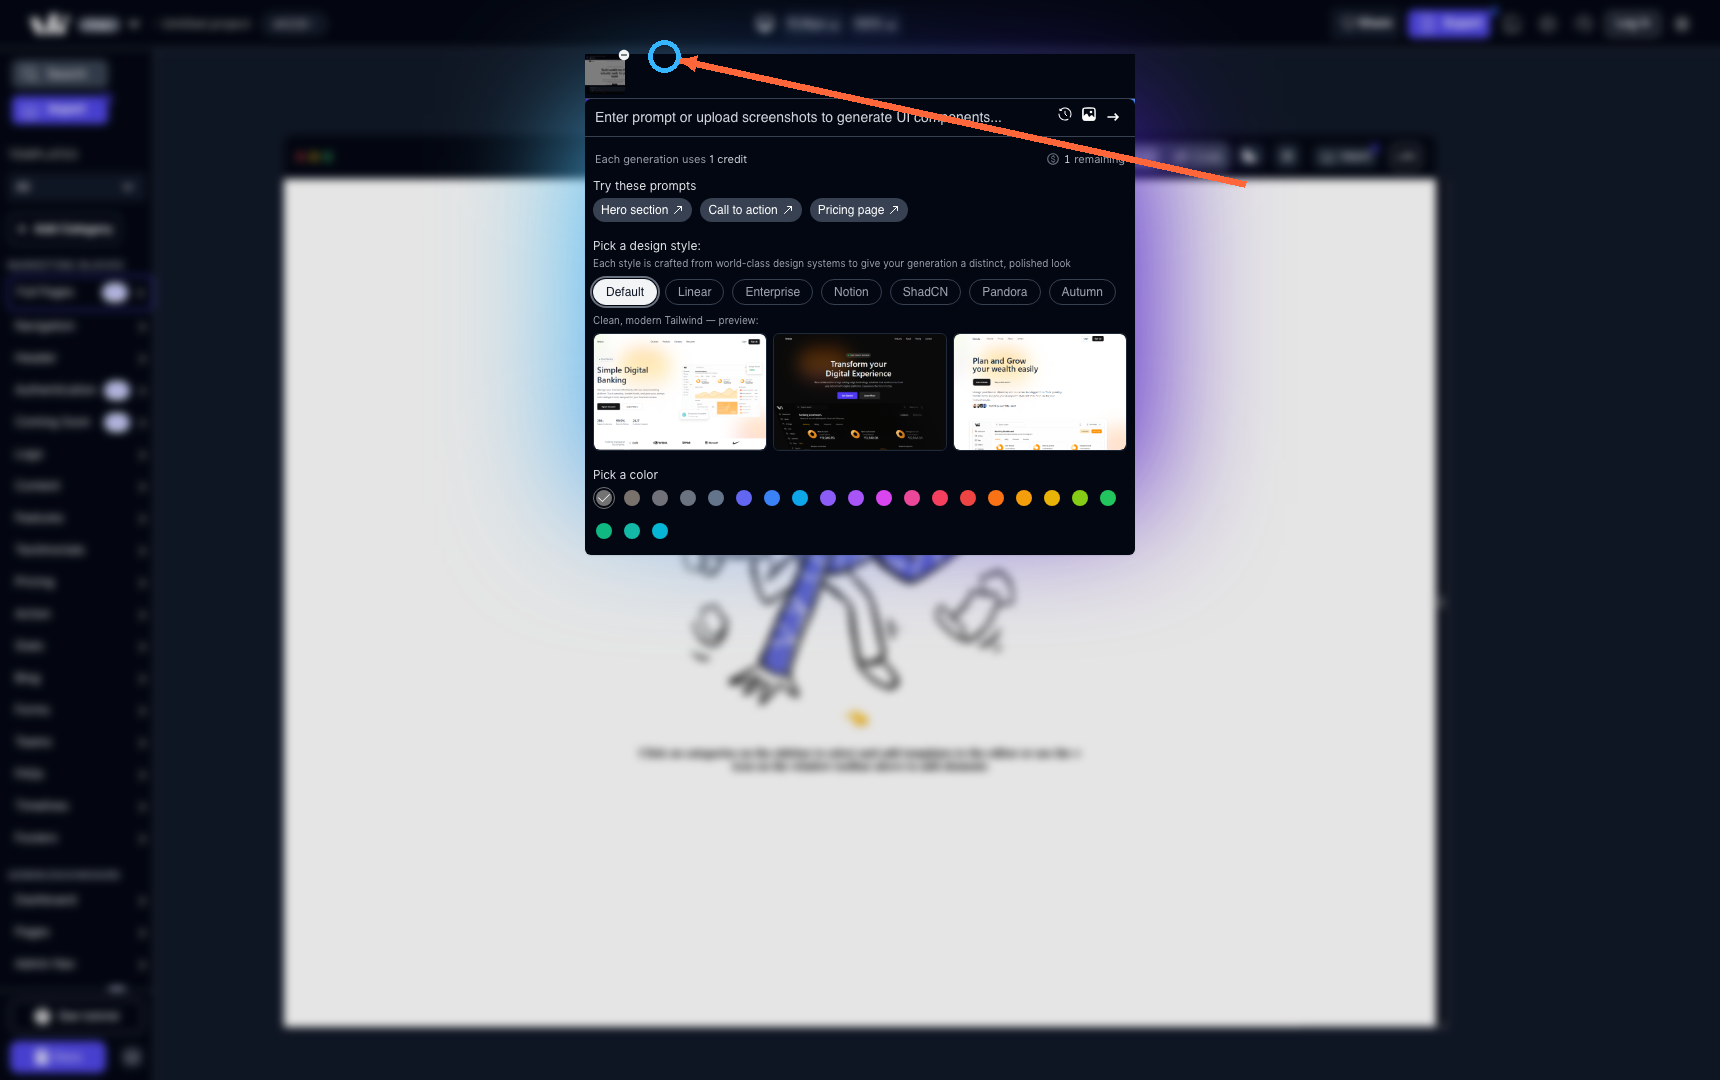
Step 1: Open image upload mode
![]()
Click the image icon in the AI bar.
After you click it, the prompt bar is ready for screenshot upload.
Step 2: Upload your screenshot and confirm preview
Upload your image (PNG, JPG, or WebP).
After upload, you should see a thumbnail preview in the bar.
Step 3: Generate from the screenshot
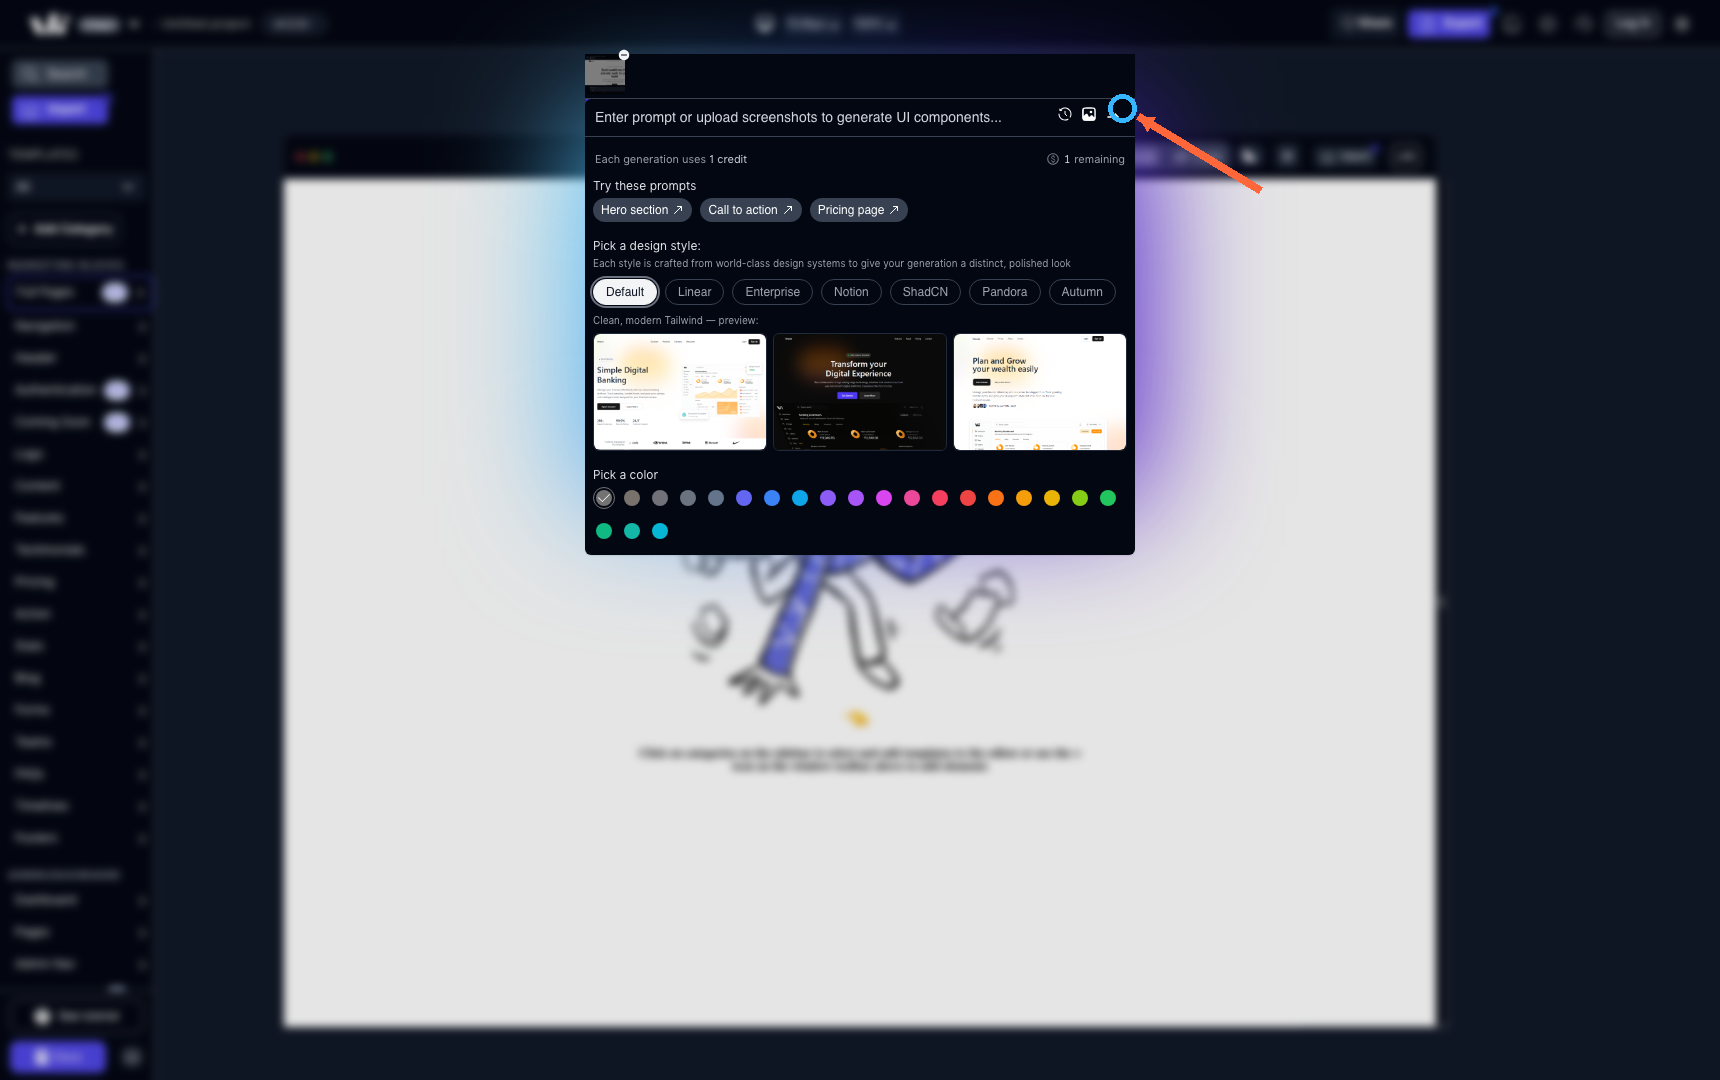
Click the generate arrow to create the editable result.
When results appear, follow the same refinement flow as AI design generation: select a result, use follow-up prompts if needed, then add to canvas.