Importing Tailwind CSS configuration into Windframe
Integrating your custom Tailwind CSS configuration into Windframe enhances the flexibility and consistency of your design process.
Windframe allows you to import your Tailwind CSS configuration, which includes your customizations and styling preferences, into the Windframe editor.
However, it's important to note that importing your Tailwind CSS configuration may overwrite any existing styles or customizations made within Windframe. Ensure you save your project to a new history before proceeding with the import process, and load the saved history if unintended changes occur, as this backs up your project before the import. Click here to learn how to save and access a project's history.
Follow the steps below to import your Tailwind CSS configuration into Windframe:
Step 1: Open Windframe's editor.
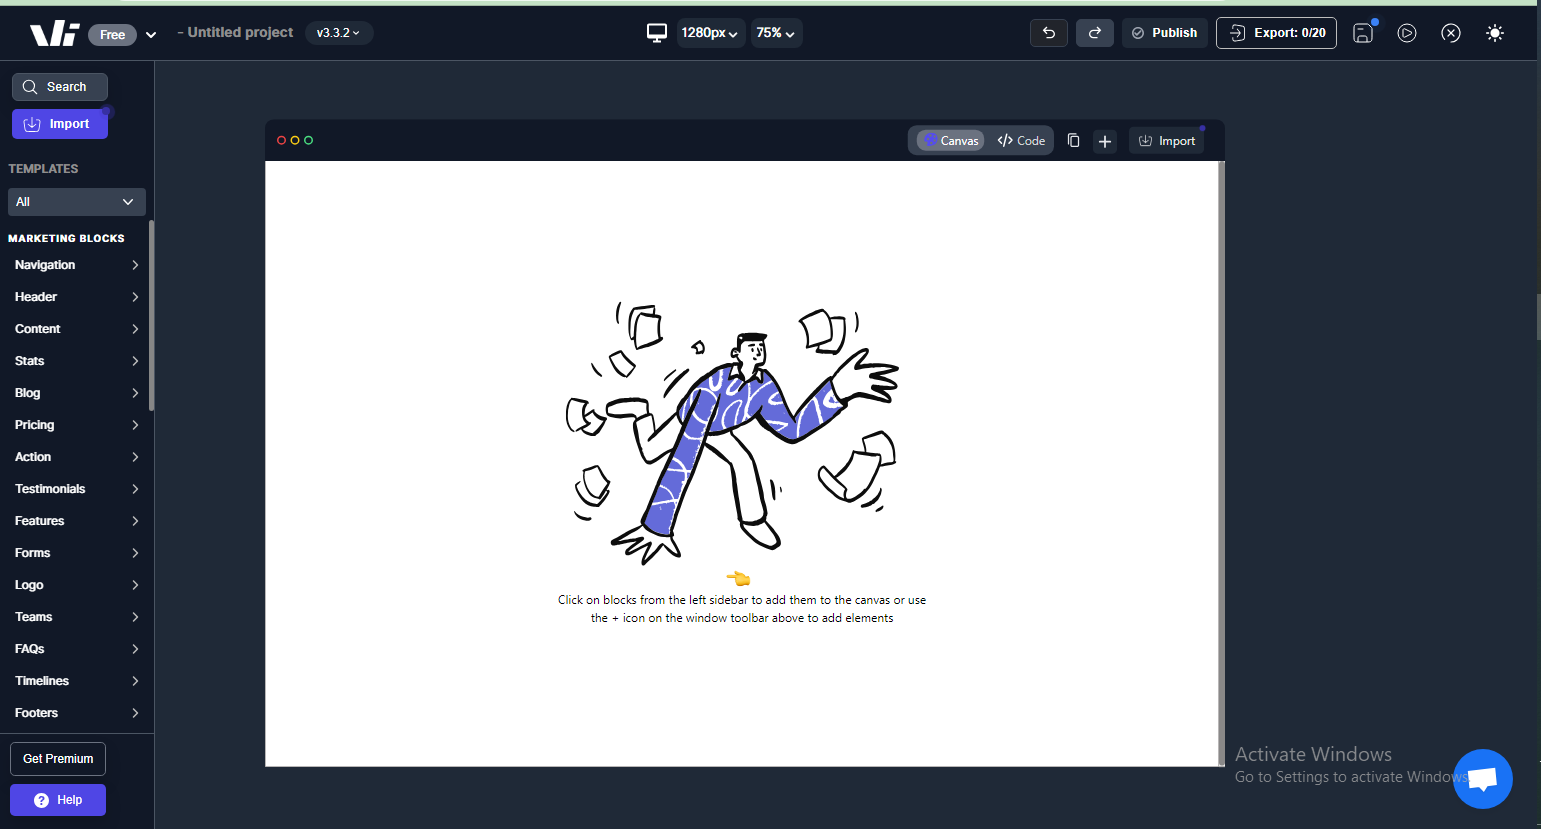
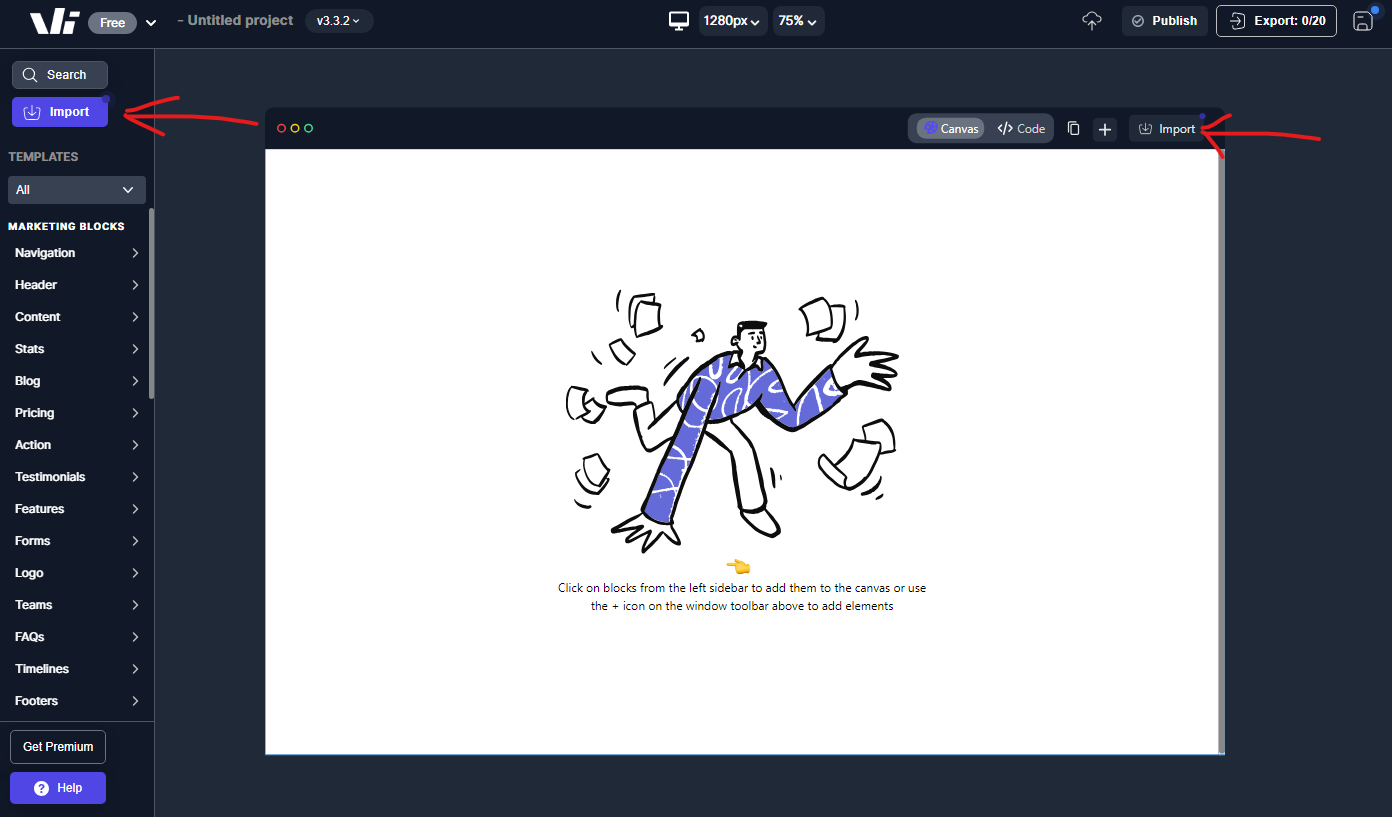
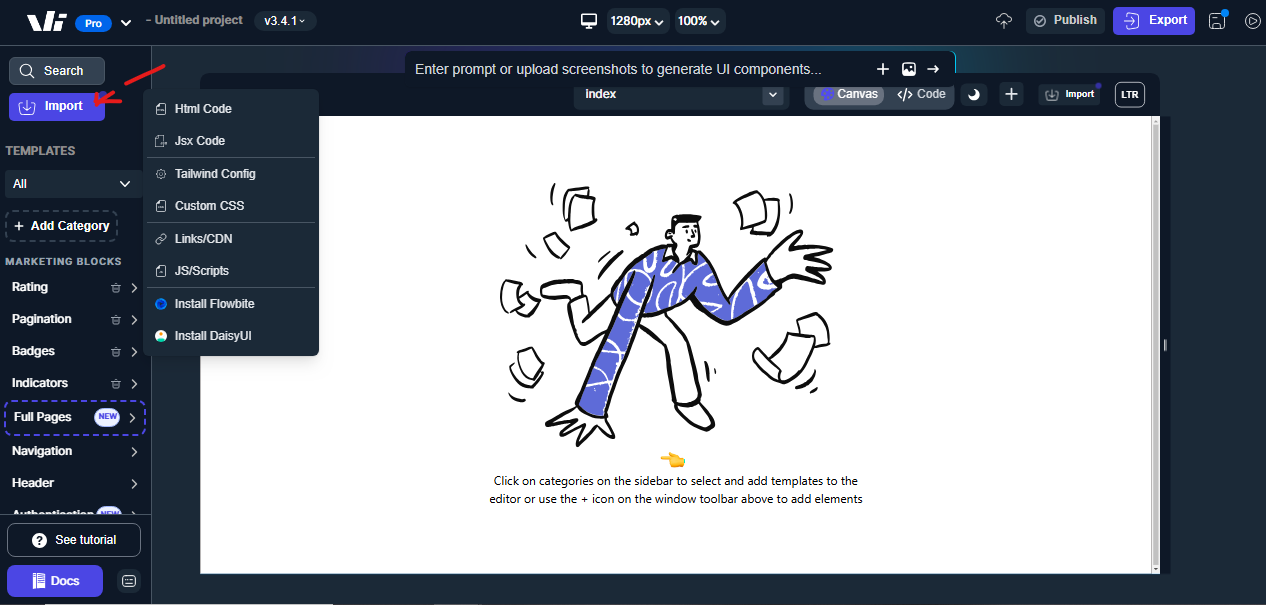
Step 2: Click on the "import" button to access the import options available on Windframe. You can find this in the left sidebar and the canvas' toolbar
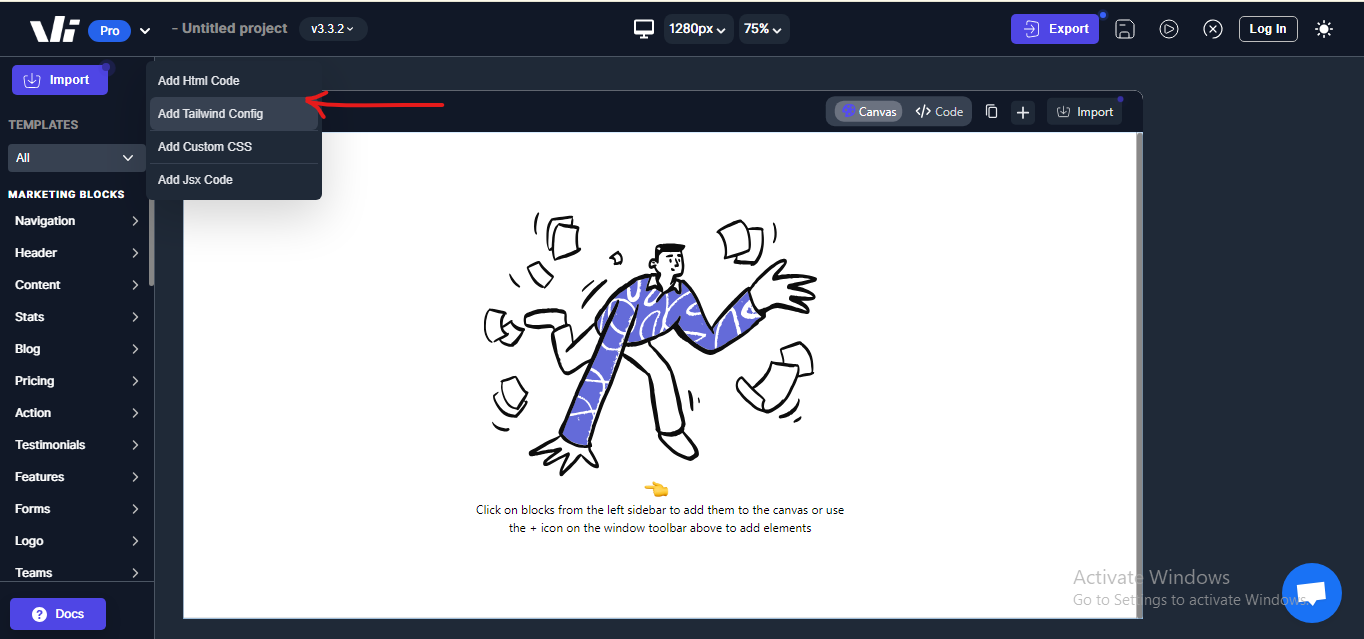
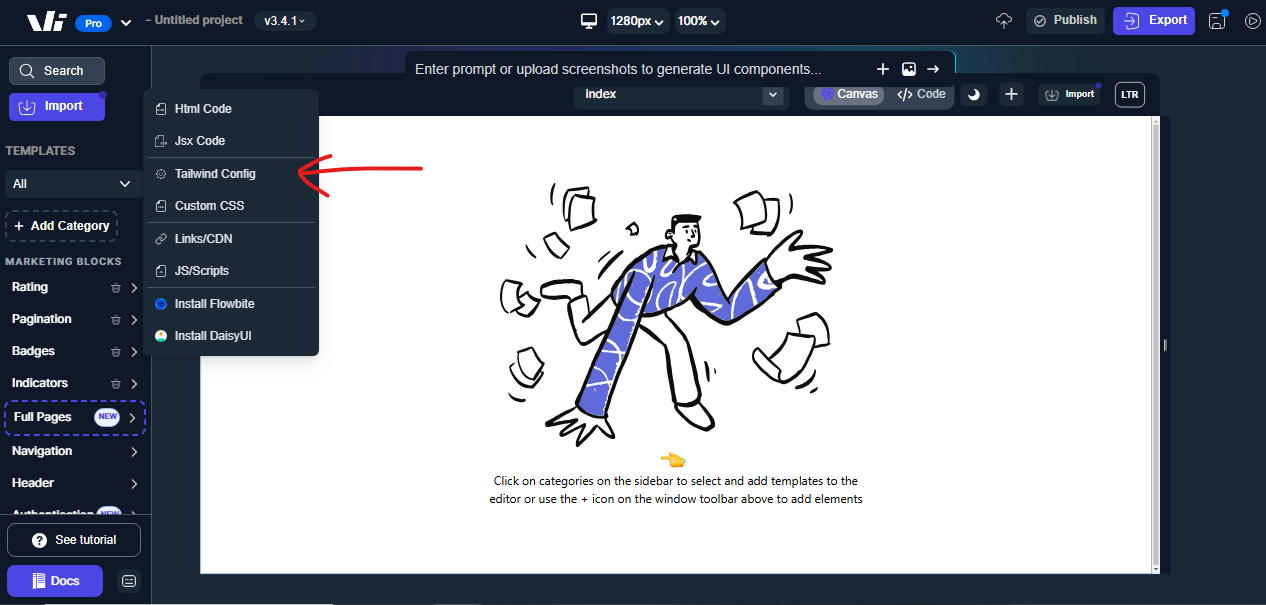
Step 3: Select "Add Tailwind Config" on the menu displayed
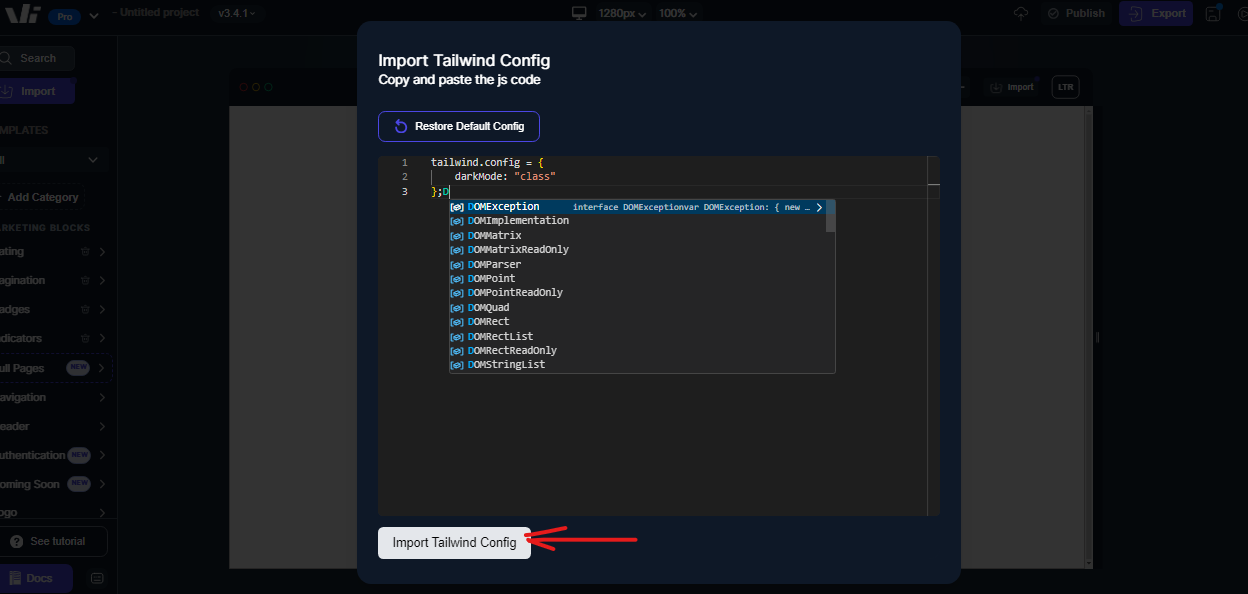
Step 4: Paste the code from your Tailwind configuration file in the area provided. This file is usually named tailwind.config.js
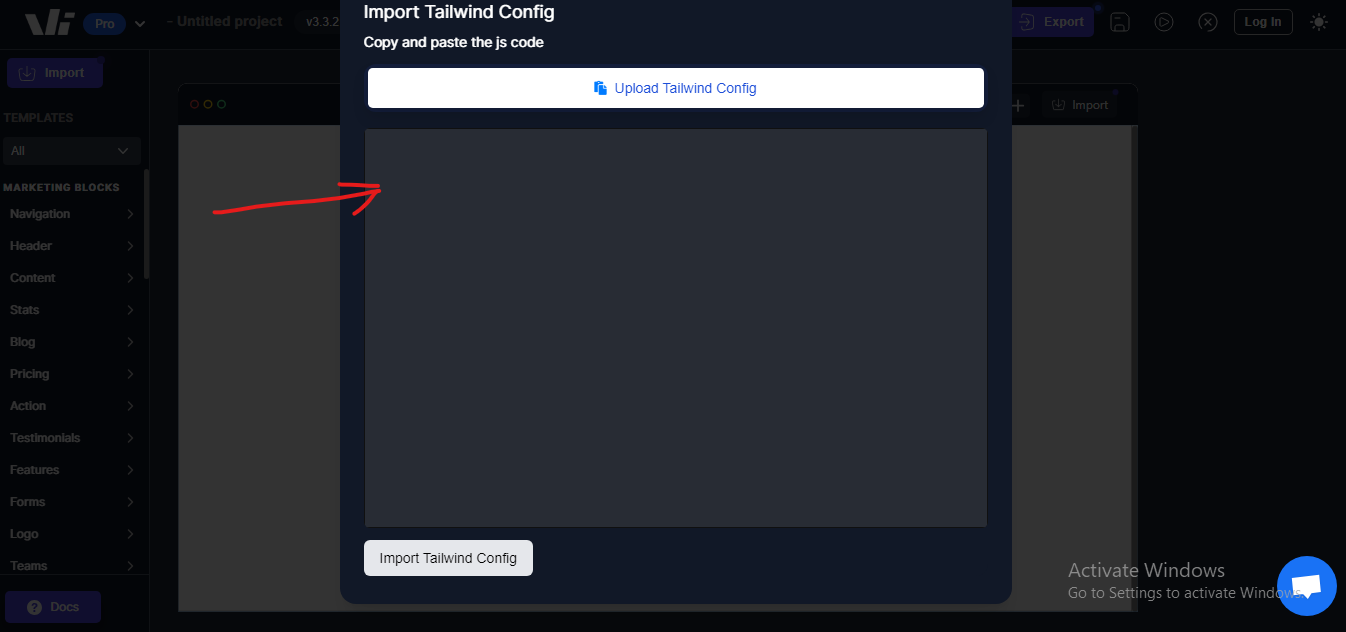
Step 5: Click on the "Import Tailwind Config" button once you have pasted your tailwind.config.js code.
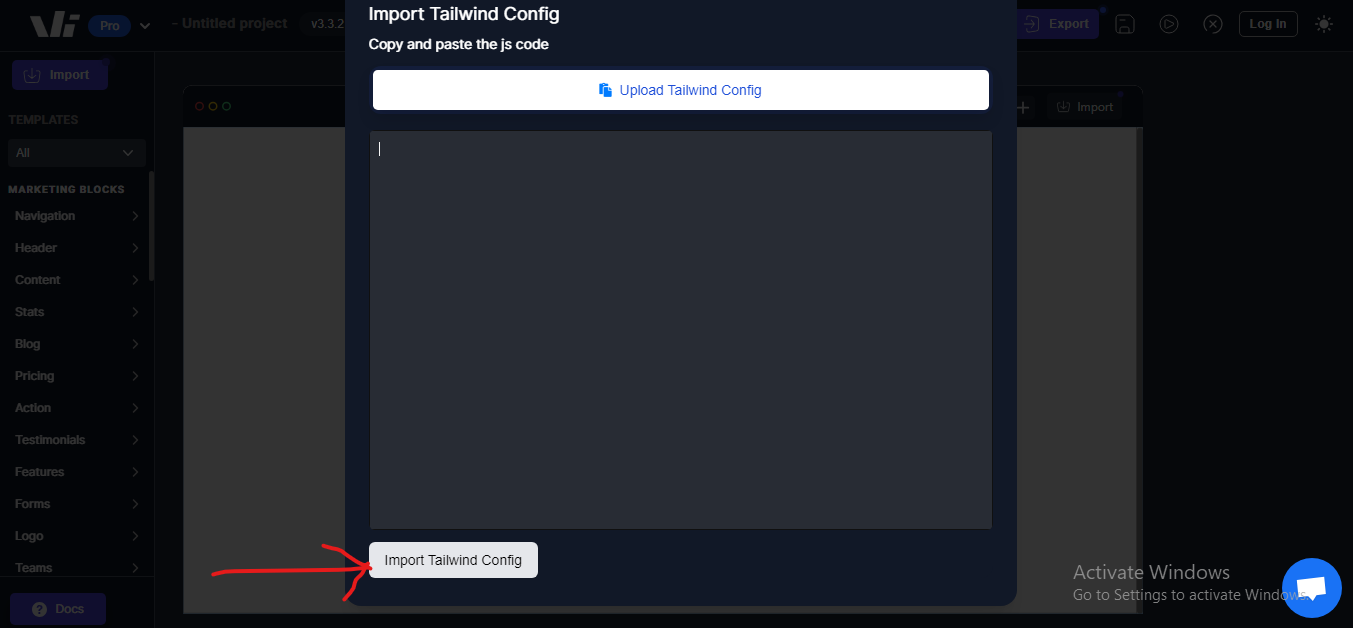
Step 6: After the import is completed, you will observe your Tailwind CSS styles and utility classes available within the Windframe editor.
Editing Tailwind Configuration on Windframe
1. Access the Tailwind Config Panel
click the import button on the toolbar at the top of the editor and select the Tailwind Config from the dropdown menu.
2. Edit the Configuration
Edit the project tailwind configuration in the editor provided.
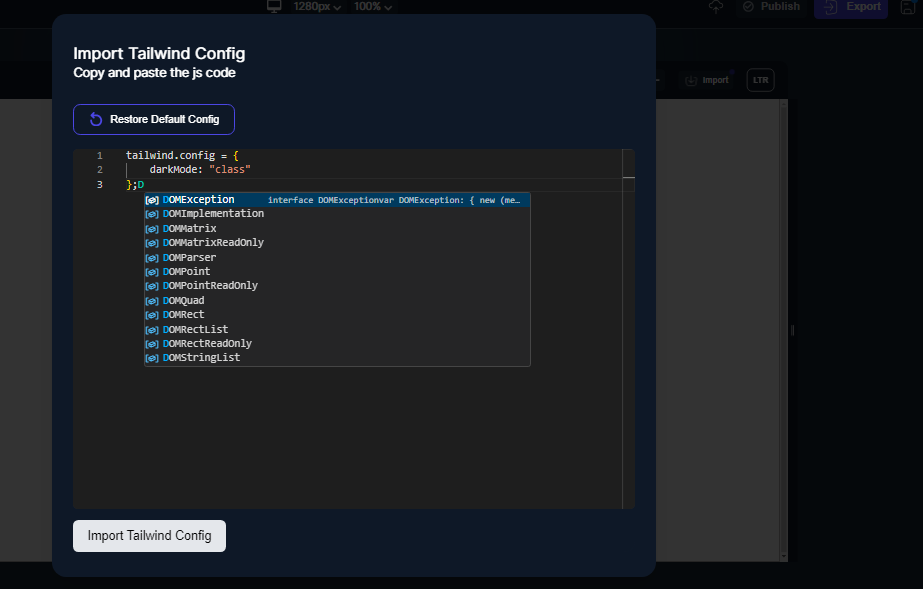
3. Save the Configuration Click "Import Tailwind Config" to apply the changes.
