Adding Custom Template on Windframe
Discover how to seamlessly add custom templates in Windframe. Follow our step-by-step guide to import and integrate your unique designs, enhancing your projects with personalized templates.
How to Add and Reuse Your Custom Templates in Windframe
Overview
Windframe offers a library of pre-designed templates that you can customize for your projects. If you have your own design, you can import custom templates directly into the Windframe editor. This lets you reuse your existing assets and maintain your brand’s unique look.
Steps to Add a Custom Template
Step 1 — Open the Windframe Editor
Launch the Windframe editor from your dashboard.
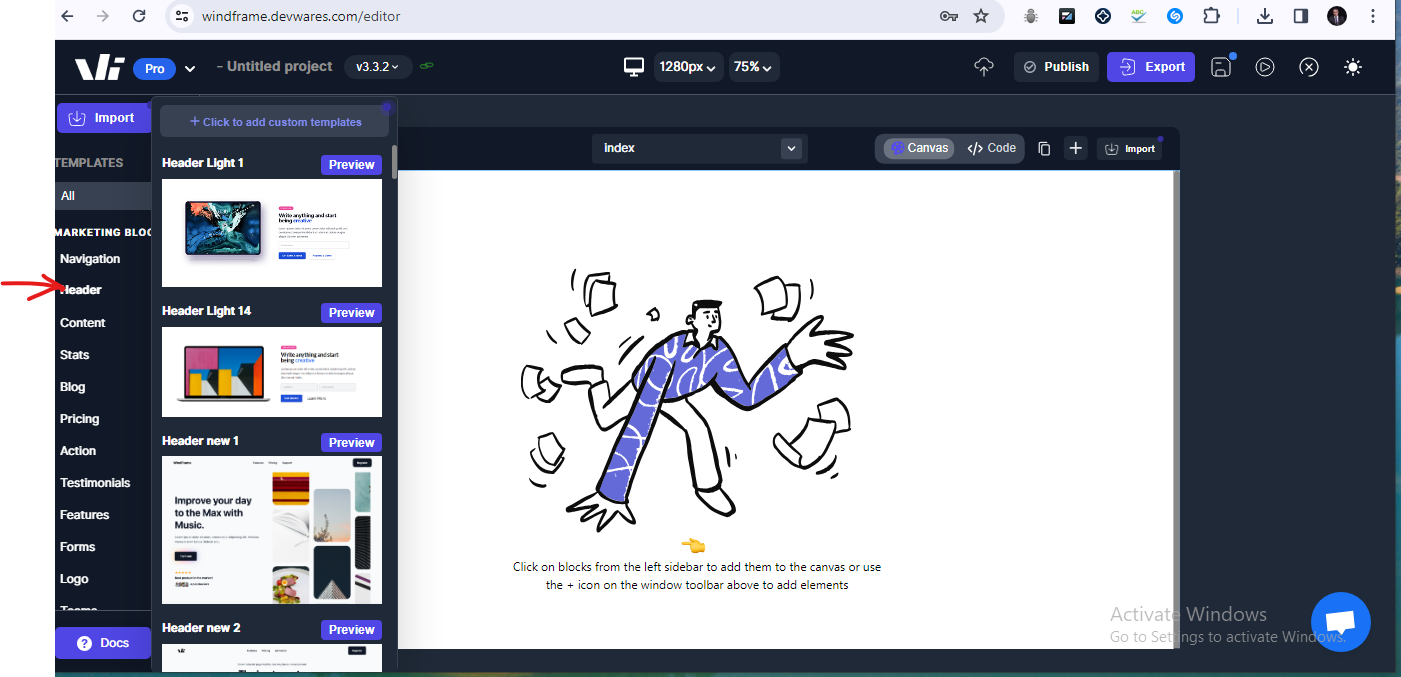
Step 2 — Access Template Sections
Hover over any template section in the left sidebar of the editor.
 .
.
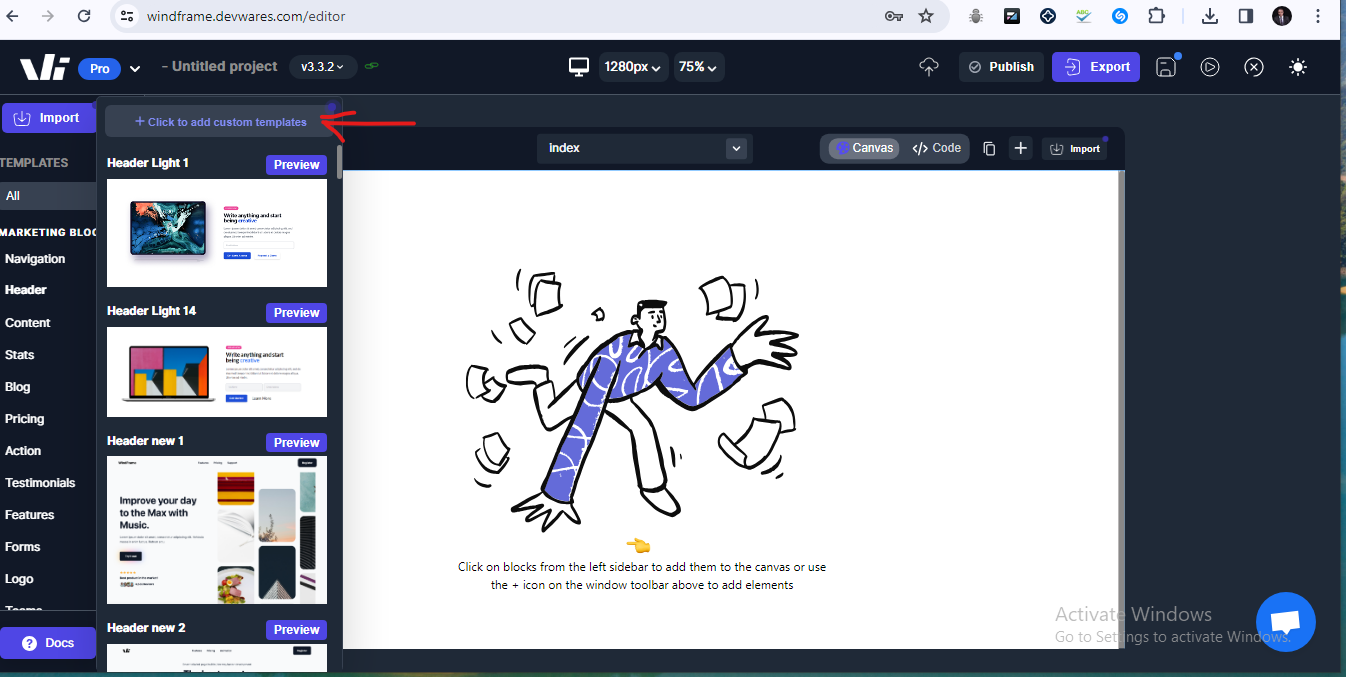
Step 3 — Select “Add Custom Template”
In the top corner of the template section, click “Click to add custom template.”
 .
.
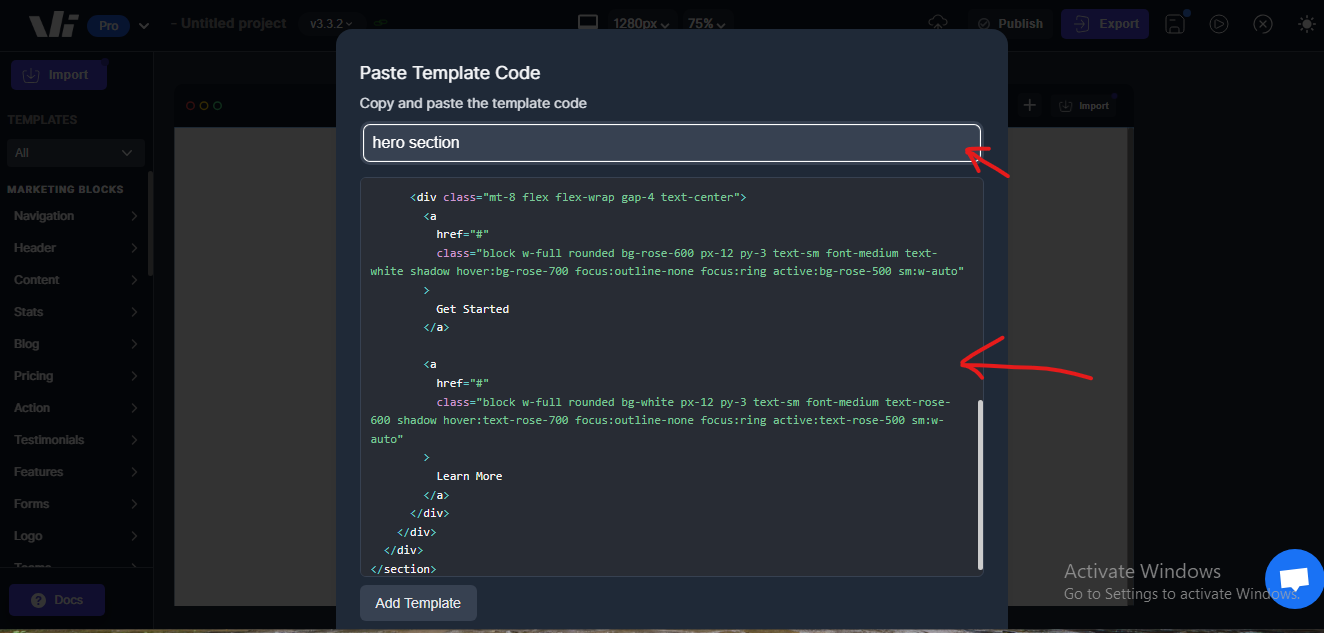
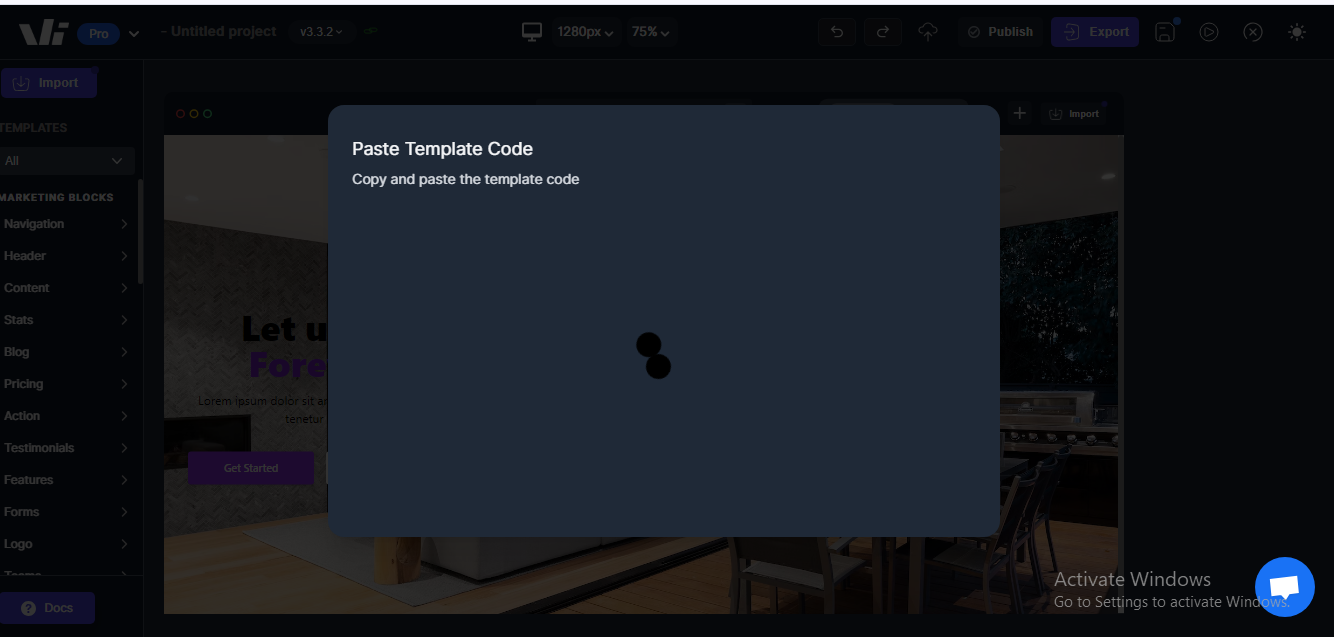
Step 4 — Enter Template Details
In the prompt:
Add a name for your custom template.
Paste your template code (HTML).
 .
.
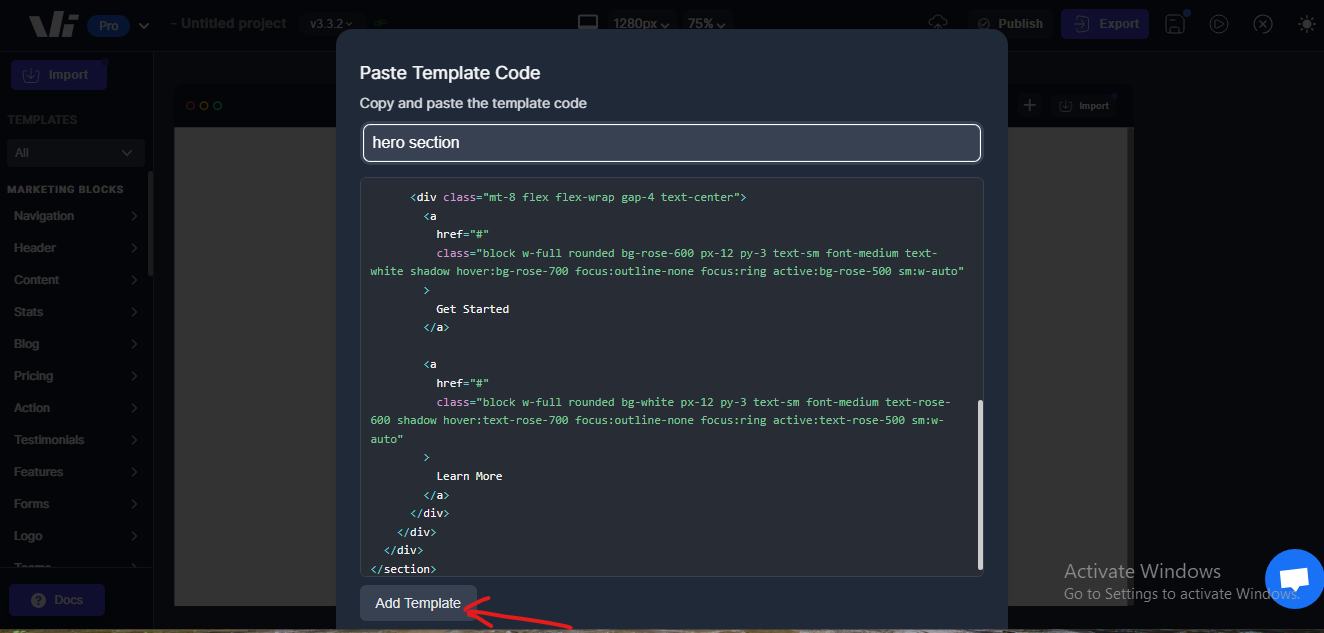
Step 5 — Add Template
Click the “Add Template” button.
 .
.
Step 6 — Processing
Windframe will process and import your template.
 .
.
Step 7 — Template Added
Once complete, your custom template will appear in the template options of the editor.
 .
.
Important Notes
-
File Format: Currently, Windframe supports HTML format for custom template imports.
-
Structure & Styling: Use clean HTML and CSS. Frameworks like Tailwind CSS are recommended for easy styling.
-
Responsiveness: Make your templates mobile-friendly to ensure compatibility across all devices.
-
UI Library Filter: Your custom template is added to the UI library currently selected in the filter. Select the right library before saving.
Pro Tips
-
Keep your templates lightweight for faster loading.
-
Maintain consistent spacing, colors, and typography with your project’s style guide.
-
Test on multiple screen sizes before finalizing.