Windframe Toolbar
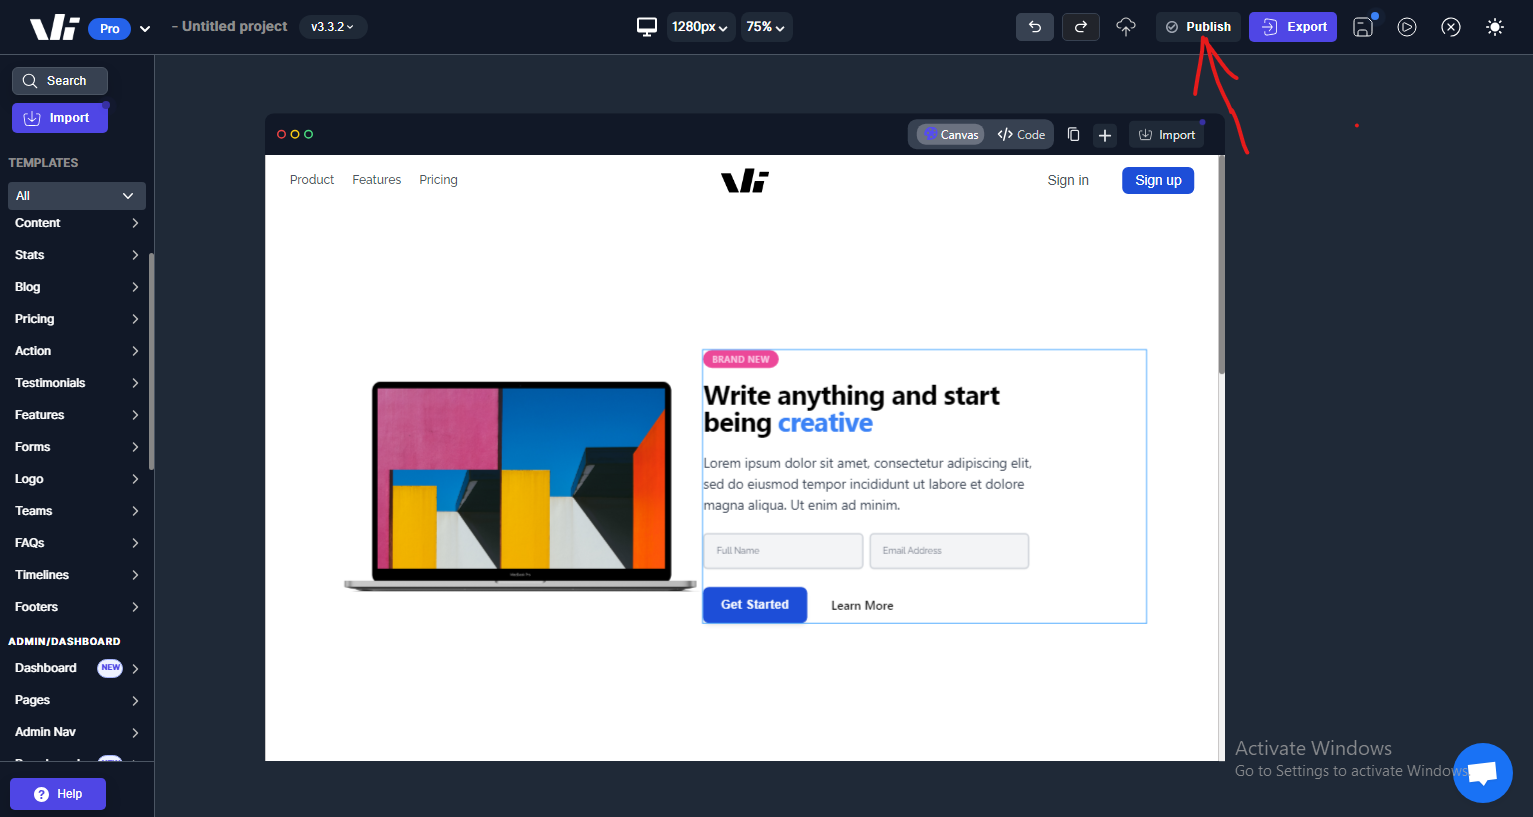
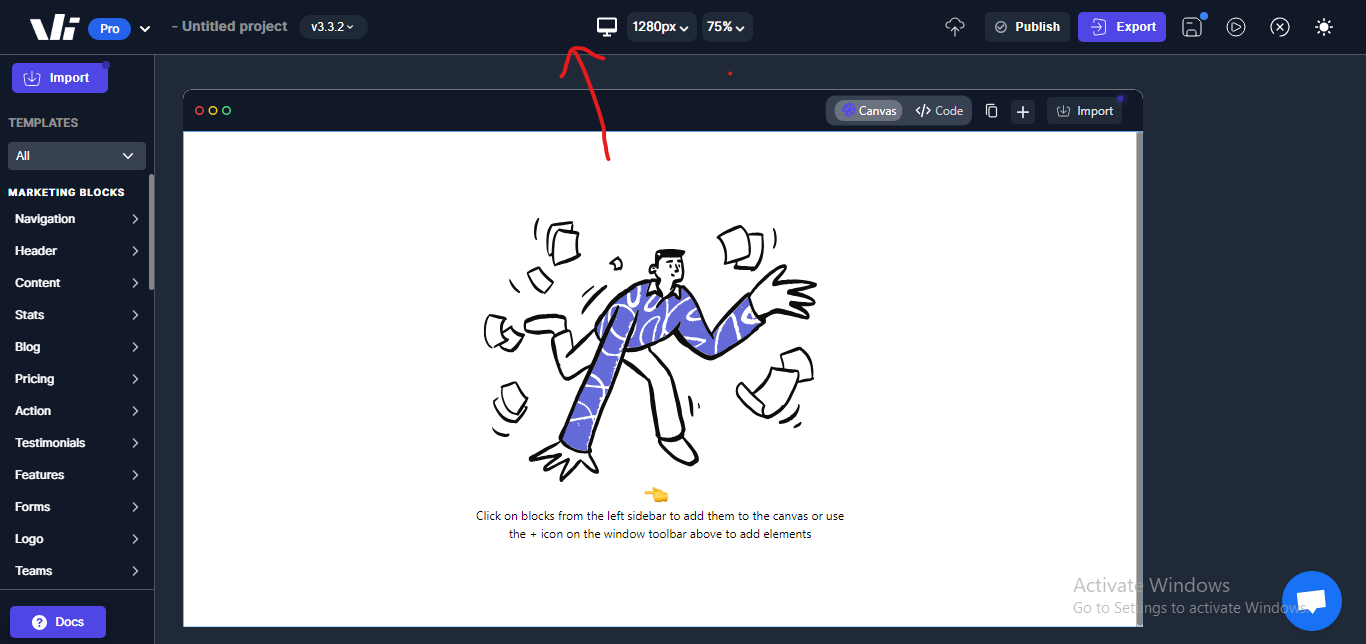
The Windframe toolbar is a comprehensive interface that offers quick access to various functionalities, enhancing your design workflow. Here is an overview of its key features
The Windframe toolbar is a powerful tool that provides easy access to various functionalities and features in the Windframe editor. This documentation will guide you through the different buttons available on the toolbar and explain how to use them effectively to enhance your design workflow.
Buttons on the Windframe Toolbar
The Windframe toolbar consists of the following buttons:
1. Savings button
The Savings button allows you to save your project and store your progress. By clicking on this button, your work will be saved, ensuring that you can access it later. This button is essential for preserving your design and progress throughout your editing session.

2. Sharing button
The Sharing button enables you to share your project with others. By clicking on this button, you can generate a shareable link or invite collaborators to collaborate on your project. This button is useful when you want to collaborate with others or showcase your design to clients or stakeholders.

3. Screen switch button
The Screen switch button allows you to switch between different screens or pages within your project. If you have multiple screens or pages in your project, you can easily navigate between them by clicking on this button. This feature is beneficial for managing and organizing complex projects with multiple pages or sections.

4. Zoom Button
The Zoom Button allows you to adjust the zoom level of the canvas in the Windframe editor. By clicking on this button, you can zoom in or out to get a closer or wider view of your design. This button is useful when you want to focus on specific details or get an overview of your entire design.

5. Export button
The Export button enables you to export your project as HTML, CSS, or JavaScript code. By clicking on this button, you can generate code files that can be used to deploy your design or further customize it. This button is particularly handy when you want to publish your project or collaborate with developers who need access to the code.

6. New project button
The New project button allows you to create a new project from scratch. By clicking on this button, you can start a new project with a blank canvas and begin designing. This button is perfect when you want to start a fresh project or explore new design ideas.

7. Publish Button
The Publish Button allows you to publish your project and make it accessible on the web. By clicking on this button, you can deploy your design and share it with others. This button is useful when you want to showcase your work or make it available to a wider audience.

8. Clear Canvas Button
The Clear Canvas Button enables you to clear the entire canvas and remove all elements from your design. By clicking on this button, you can start with a blank slate and create a new design from scratch. This button is helpful when you want to start fresh or discard your current design.

9. Preview Button
The Preview Button allows you to preview your design as it would appear on different devices or screen sizes. By clicking on this button, you can see how your design adapts to different devices, such as desktops, tablets, and smartphones. This button is beneficial for testing the responsiveness and overall layout of your design.

10. Theme Button
The Theme Button enables you to customize the overall theme of your project. By clicking on this button, you can access a range of pre-designed themes and apply them to your design. This button is perfect when you want to change the look and feel of your project quickly.

11. Tailwind Version Button
The Tailwind Version Button allows you to switch between different versions of the Tailwind CSS framework. By clicking on this button, you can choose the version that best suits your project's needs. This button is useful when you want to utilize specific features or take advantage of the latest enhancements in Tailwind CSS.

Using the Windframe Toolbar
To use the Windframe toolbar effectively, follow these steps:
- Open the Windframe editor and navigate to your project.
- Locate the toolbar at the top or side of the editor interface.
 .
.
-
Familiarize yourself with the different buttons on the toolbar, including the Savings button, Sharing button, Screen switch button, Export button, and New project button.
-
Click on the appropriate button to perform the desired action.