Adding image on Windframe
Windframe allows you to add images to your components by providing a direct image URL. The image can be hosted anywhere online — whether on your server, a CDN, an image hosting service, or cloud storage — and Windframe will load and display it instantly.
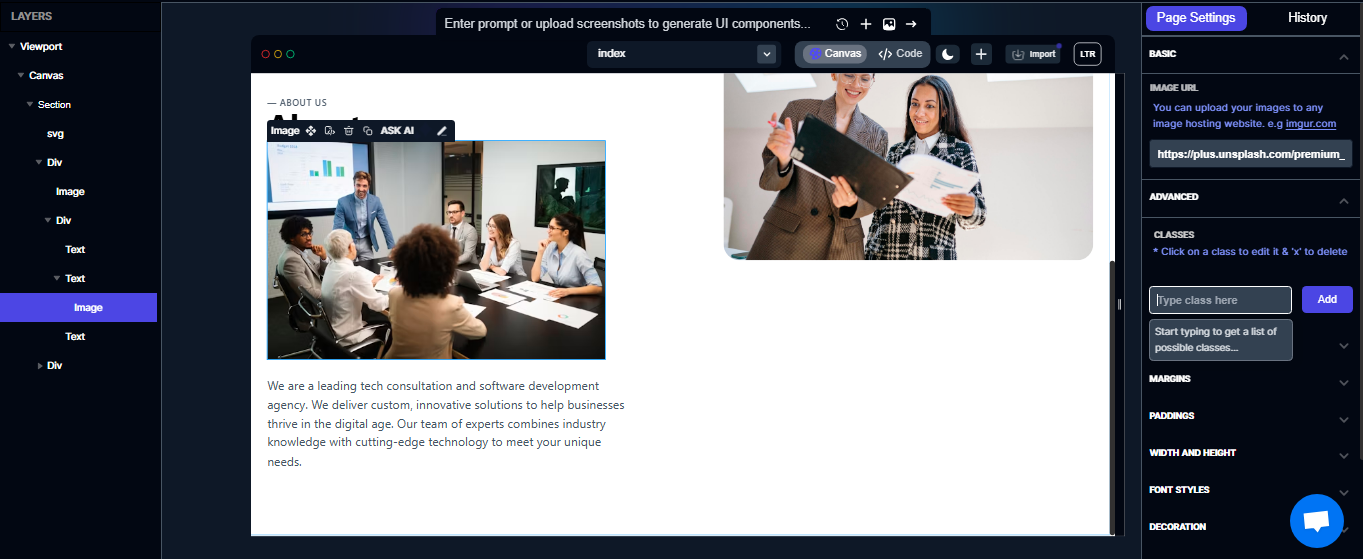
Images are an essential part of web projects, and Windframe makes it simple to add, customize, and manage them. Windframe allows you to add images to your components by providing a direct image URL. The image can be hosted anywhere online — whether on your server, a CDN, an image hosting service, or cloud storage — and Windframe will load and display it instantly.
This makes it flexible and lightweight: no uploads are needed, and you can change images anytime just by updating the URL.
Step 1: Open the Windframe Editor
-
Log in to your Windframe account.
-
Navigate to your Project Dashboard.
- Open the project where you want to add an image.

Step 2: Insert an Image Element
-
Go to the page and locate the component where the image should appear.
-
Click the component to select it.
-
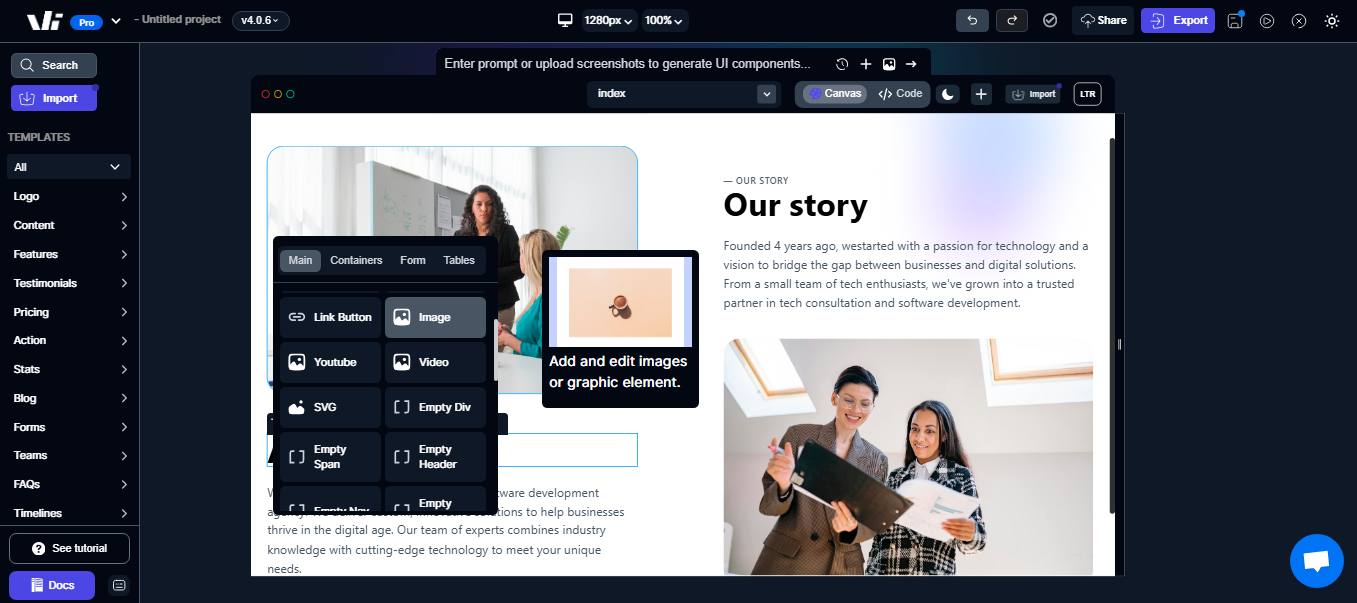
On the edge toolbar, click Add Element.
- From the dropdown, select the Image element.
Step 3: Add an Image URL
-
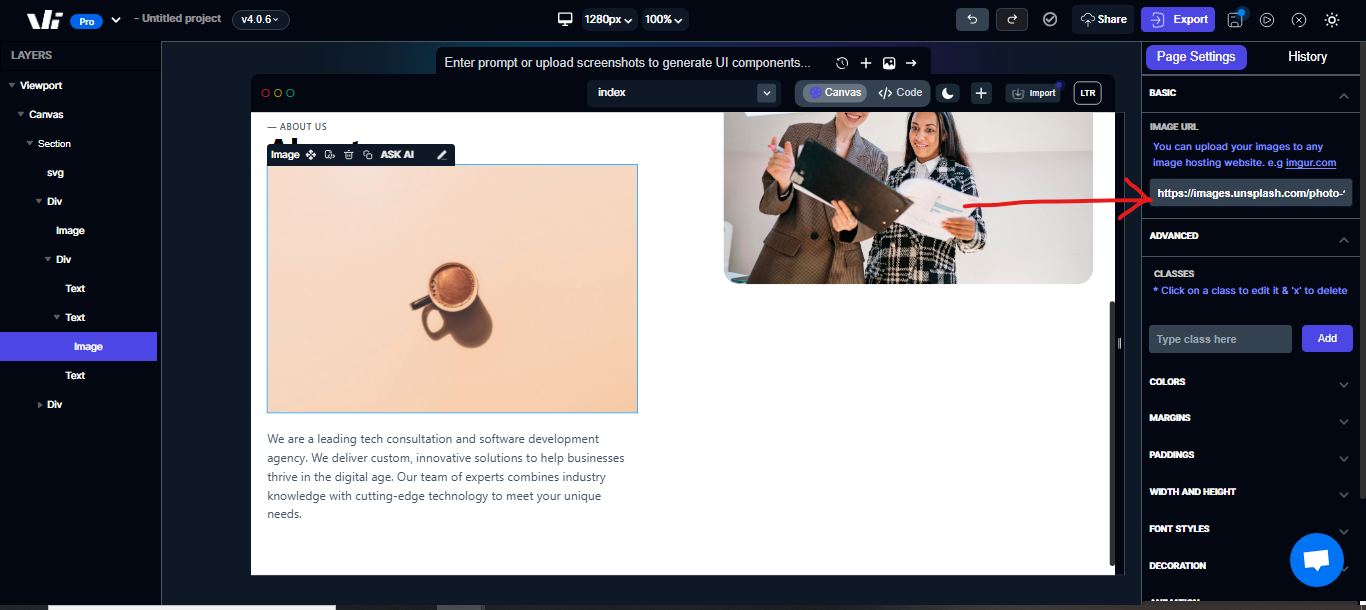
With the image element selected, the Page Setting sidebar will open automatically.
-
In the Image Source field (or text bar), paste the full URL of your image.
Example:
https://example.com/my-image.jpg
- Windframe will instantly load and display the image on your page.

💡 Note: Since the source is URL-based, you can host your image:
-
On a CDN (e.g., Cloudflare, AWS S3, Imgix)
-
On free hosting services (e.g., Imgur, Postimages, Google Drive with shareable links)
-
On your own server or website
Step 4: Customize the Image
-
Select the image on the page.
-
In the Advanced Options sidebar, you can:
-
Adjust size (width/height)
-
Control alignment (left, right, center)
-
Add Tailwind classes for styling
-
Make it responsive across devices
-
Step 5: Save and Preview
-
Save your work frequently.
-
Click Preview to see how the image looks in your live layout.