🚀 Just launchedApple UI design taste for AI agents — create polished UIs using Apple’s design style.Try it now
Adding flowbite and dasiy UI to windframe
Enhancing your Windframe projects by integrating UI component libraries like Flowbite and daisyUI can significantly streamline your development process. Here is how you can seamlessly add these libraries to Windframe.
Overview
Windframe makes it easy to integrate third-party component libraries like Flowbite and DaisyUI. This guide walks you through installing, importing, customizing, and exporting components from these libraries.
-
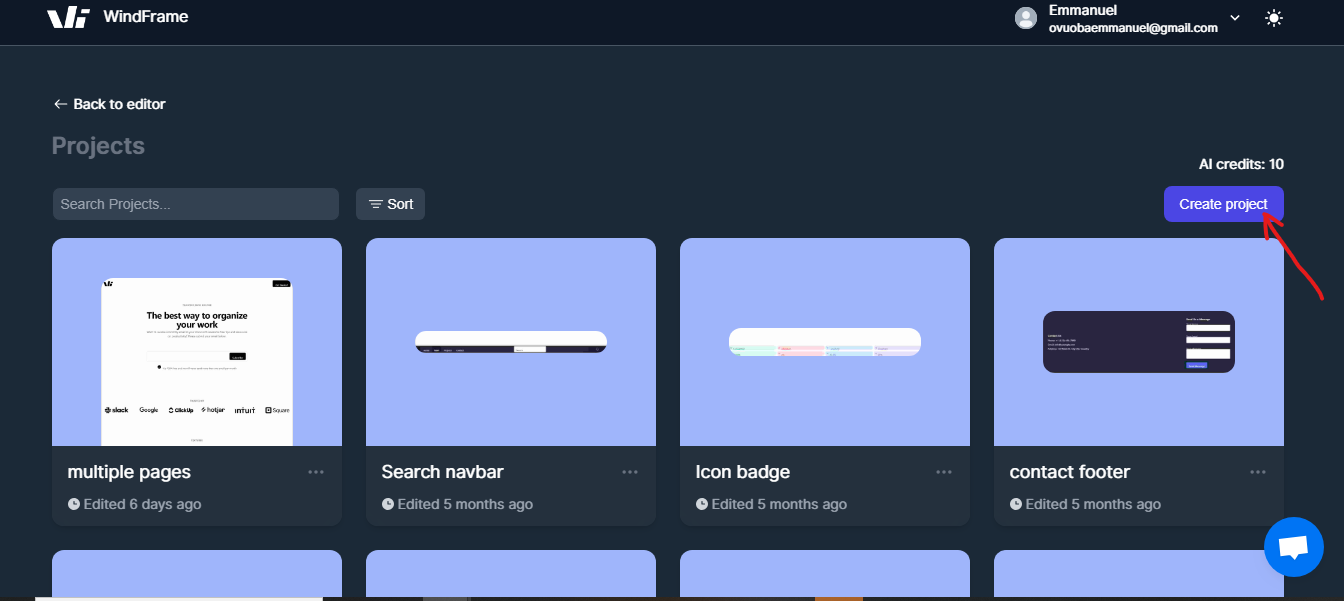
Open the Windframe Editor.
-
Create a new project.
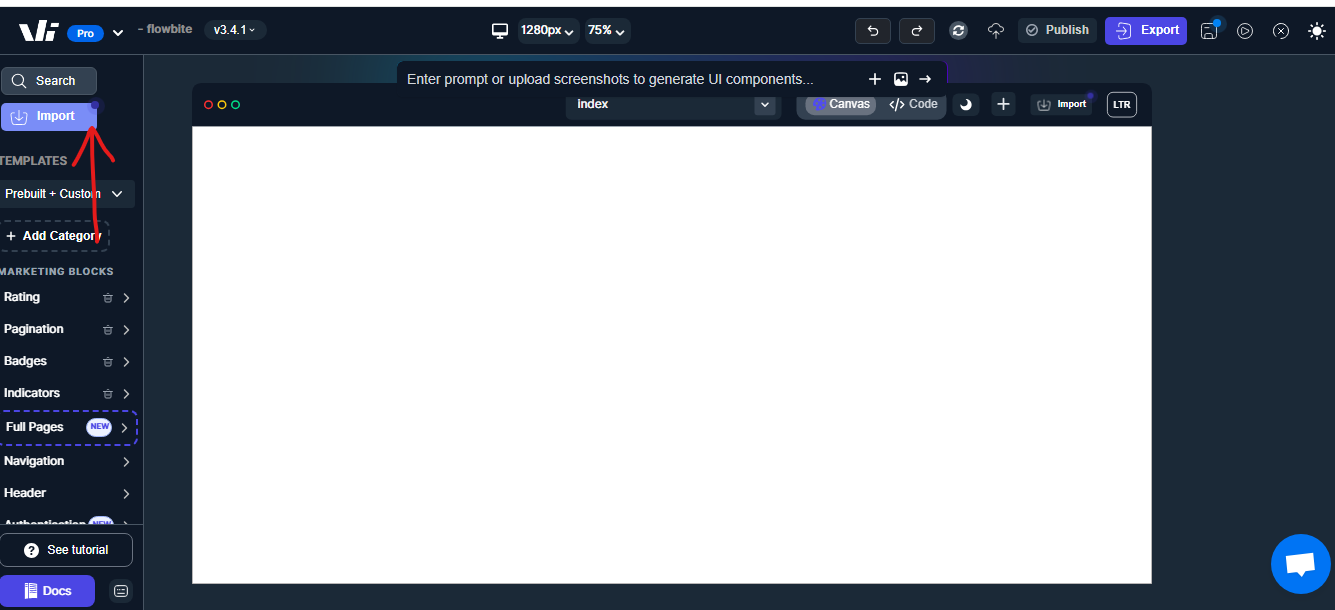
- Click the Import button to open the library options.
 .
.
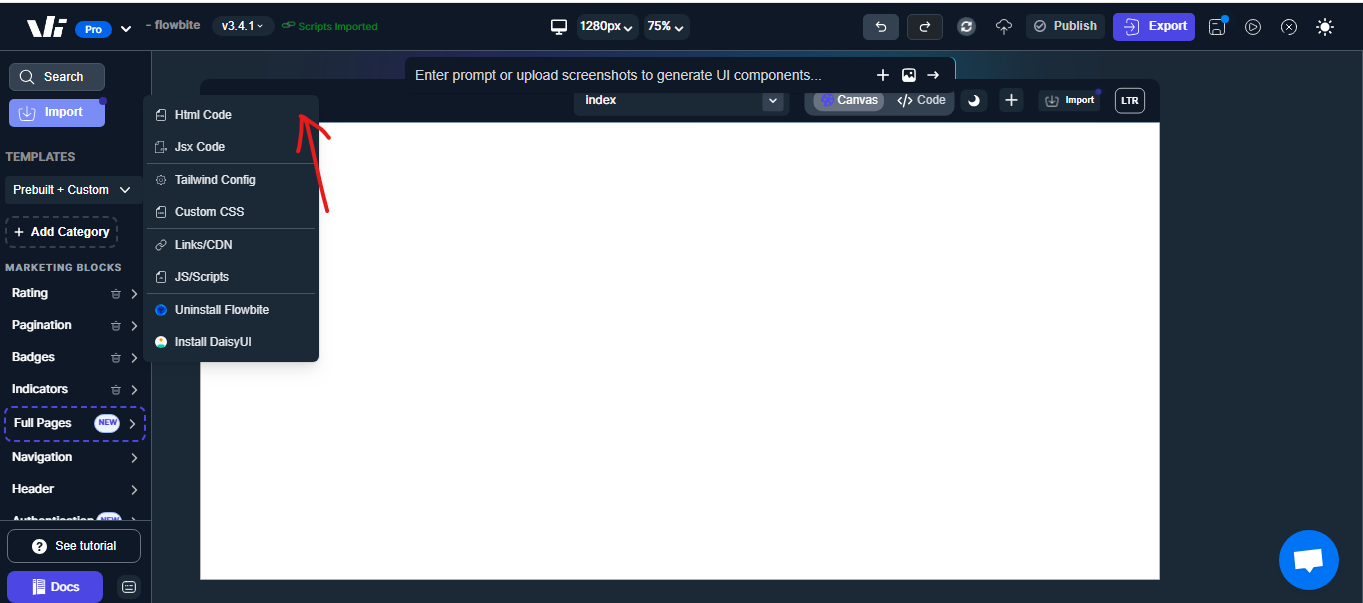
- Choose Install Flowbite or Install DaisyUI.

The library will be added automatically.
-
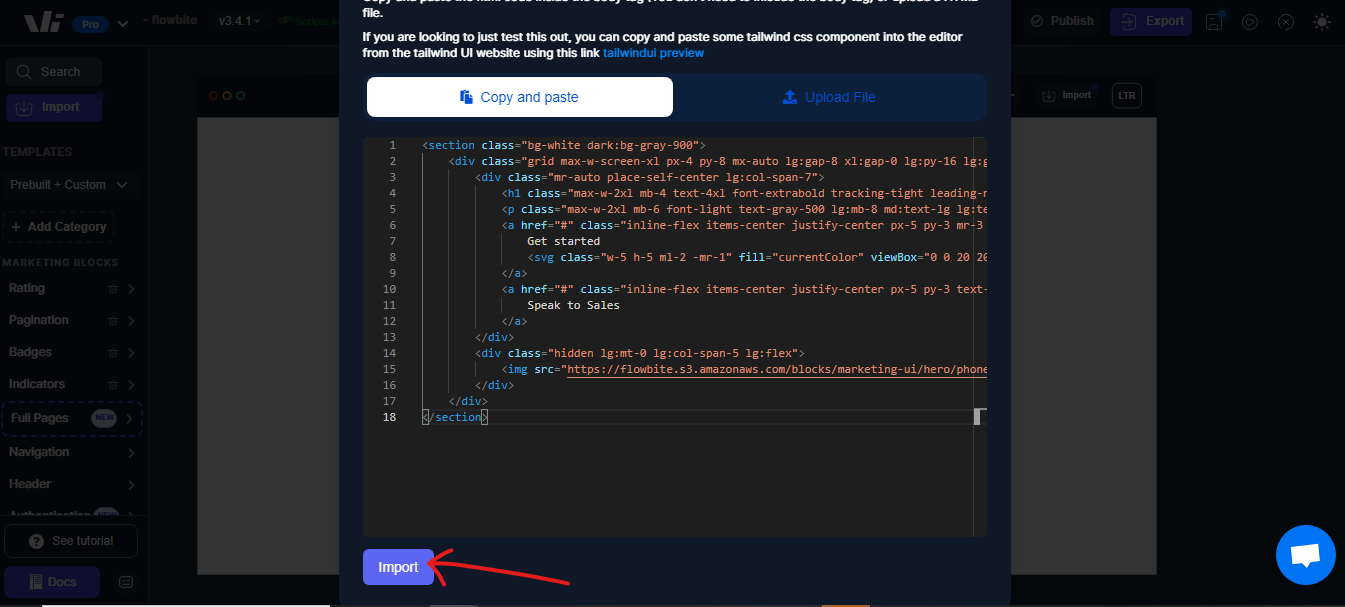
Copy the HTML code for the desired component from Flowbite or DaisyUI.
-
In Windframe, click Import → HTML Import.
- Paste the code into the modal and click Import.
-
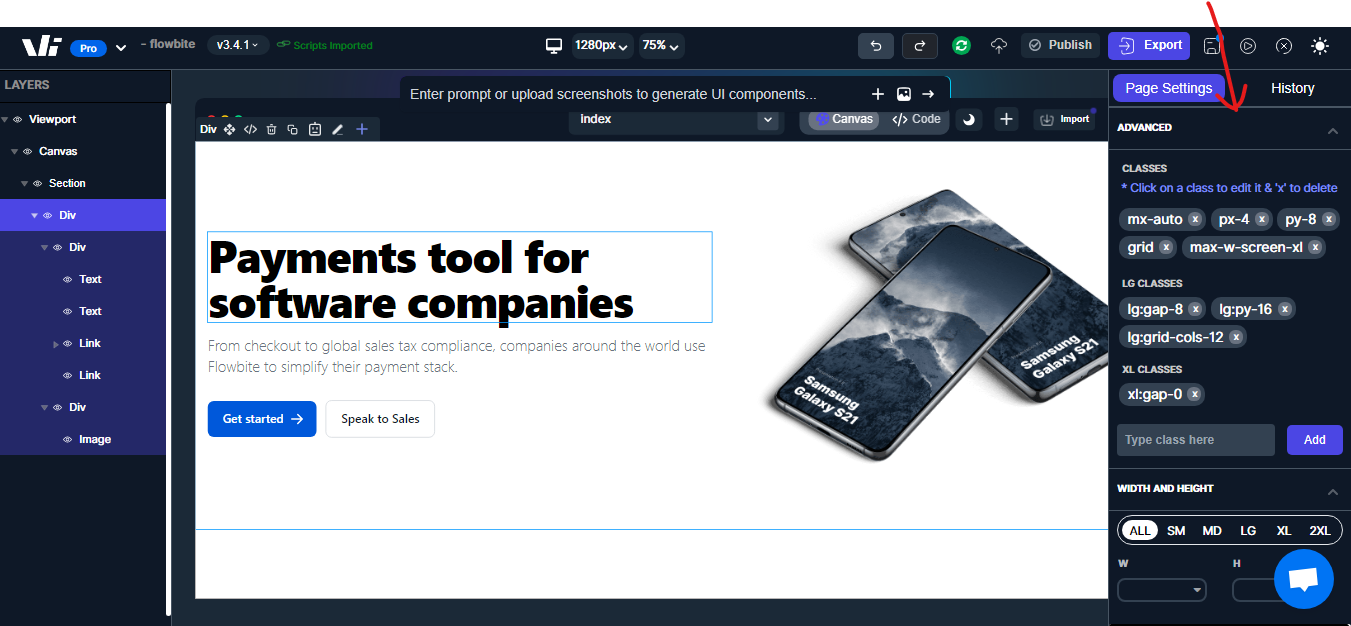
Select the imported component in the editor.
-
Use the visual editor to:
-
Adjust styles
-
Modify properties
-
Change text/images
-
- Save your changes.
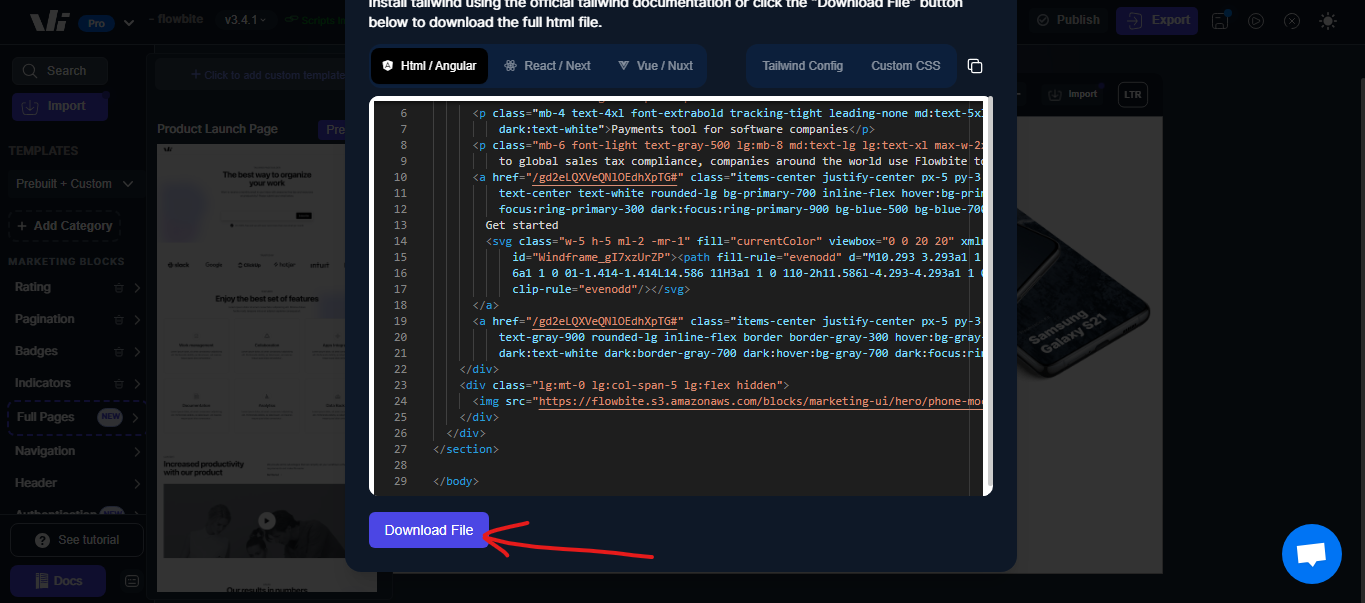
- Click the Export button.
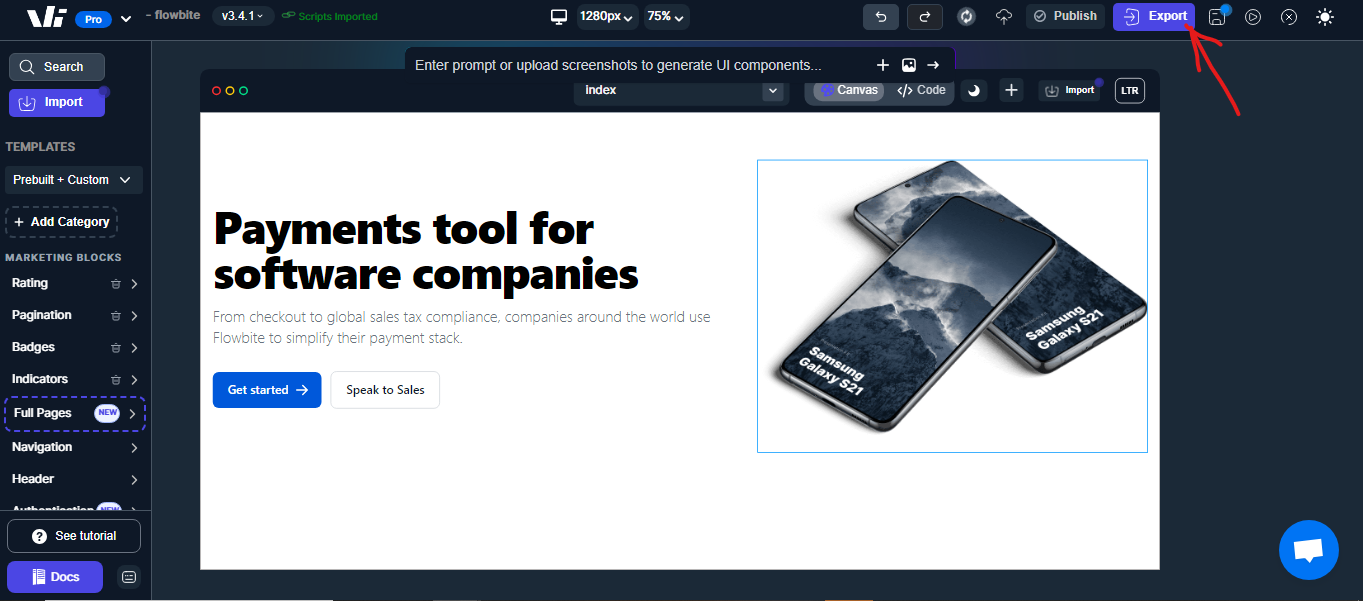
- Select your desired format (HTML, CSS, snippet).
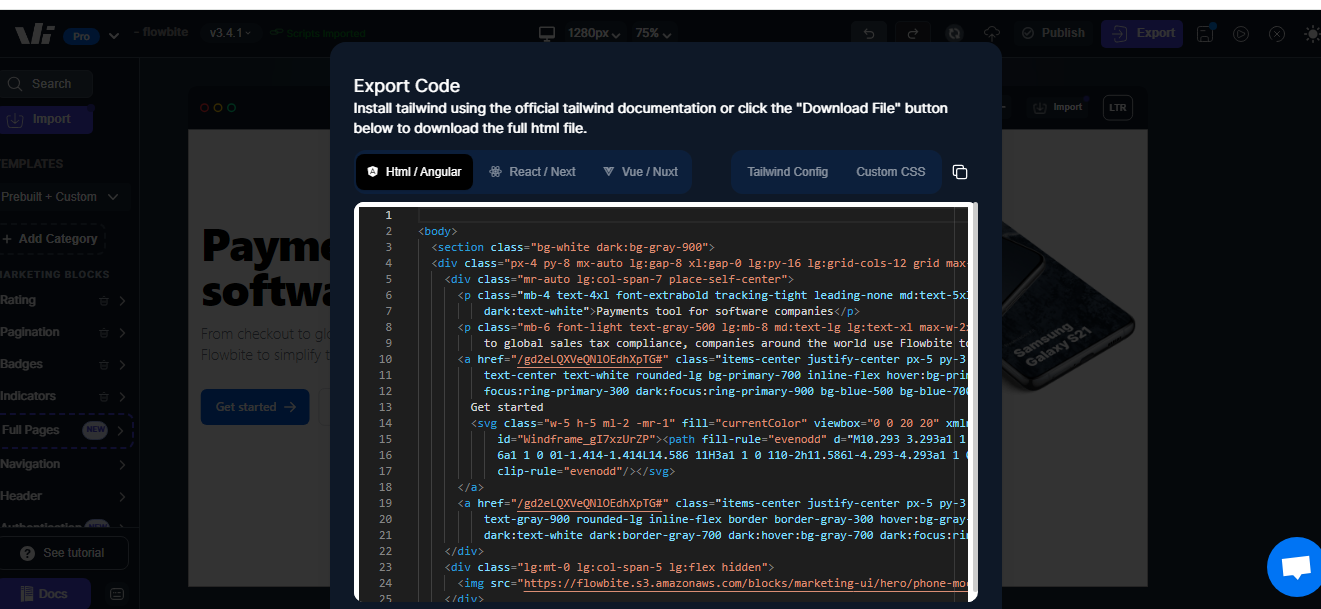
- Click Download File to save.