How to Integrate Stripe Payments in No-Code Web Builders
By Emmanuel Chinonso - Frontend Engineer and Technical Writer at Windframe

Remember when accepting payments on your website meant hiring a developer, dealing with complex code, and spending weeks just to get a simple checkout button working? Those days are over.
Today, you can build a beautiful website and start accepting payments in an afternoon,all without touching a single line of code. Whether you're selling handmade jewelry, online courses, consulting services, or monthly subscriptions, no-code platforms combined with Stripe make it ridiculously simple.
But here's the thing: while it's technically simple, figuring out which method works best for your specific needs can be confusing. Should you use Payment Links? Stripe Checkout? A marketplace app? What about subscriptions, or selling in multiple currencies?
This guide walks you through everything you need to know about integrating Stripe payments with popular no-code website builders. Whether you're using Webflow, Wix, Squarespace, Carrd, windframe or another platform, you'll find step-by-step instructions that actually make sense, no tech jargon, no confusion, just clear directions from someone who's been there.
What is Stripe and Why Should You Care?
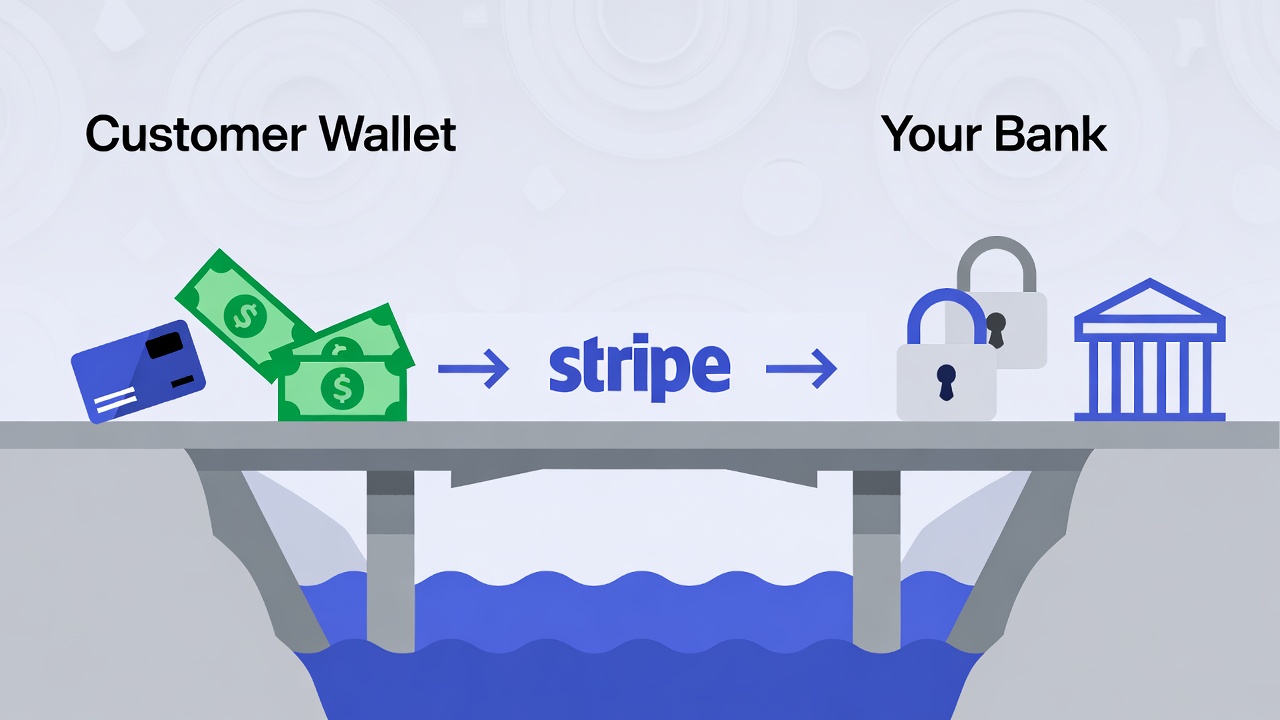
Think of Stripe as the behind-the-scenes wizard that handles money transfers online. It's a payment processor that lets businesses accept credit cards, bank transfers, and even things like Apple Pay without you worrying about the nitty-gritty like fraud checks or currency conversions. Started back in 2010, it's trusted by giants like Shopify and Amazon, but it's just as friendly for small creators.
Why pick Stripe over others like PayPal? For starters, it's super flexible. It supports over 135 currencies and tons of payment methods worldwide, which is huge if your audience isn't just local. Fees are straightforward, usually around 2.9% + 30 cents per transaction in the US, but check for your region. And the best part for us no-coders? Stripe has no-code tools built right in, like Payment Links, which are basically ready-made checkout pages you can embed anywhere.
If you're new to this, Stripe isn't a bank, it's more like a bridge between your customer's wallet and your account. You sign up, verify your business (which takes a few days), and boom, you're ready to collect cash. For more on getting started, head to Stripe's official signup page.
Understanding Your Integration Options (Before You Start)
Not all Stripe integrations are created equal. Depending on what you're selling and how you want your checkout to work, you'll choose different methods. Let's break down the main options:
Payment Links: The Fastest Way to Start
Think of Payment Links as Stripe's "easy mode." You create a link in your Stripe dashboard, paste it onto a button on your website, and boom, you're accepting payments.
Perfect for:
- Selling a few simple products
- Service-based businesses (coaching, consulting, freelancing)
- Donations or crowdfunding
- Testing an idea before building something complex
Limitations:
- Less customization of the checkout experience
- Customers leave your site to complete payment
- Limited ability to collect additional information
Native Platform Integration: The Balanced Approach
Most major no-code platforms (Webflow, Wix, Squarespace) have built-in Stripe integration. You connect your Stripe account through their settings, and payment processing gets baked directly into your site. Perfect for:
- Full e-commerce stores with multiple products
- Businesses that want everything managed in one place
- Those who value simplicity over customization
Limitations:
- You're limited to the features your platform supports
- Switching platforms later can be complicated
- May not support advanced Stripe features
Marketplace Apps: The Middle Ground
Platforms like Webflow have marketplace apps (like Flowout's Stripe App) that sit between Stripe and your website, offering more flexibility than Payment Links but easier setup than custom integration. Perfect for:
- Businesses that need specific features not in native integration
- Those who want easier management of multiple products
- Teams that update pricing or products frequently
Limitations:
- Some apps have monthly fees
- You're dependent on the app developer for updates
- Learning curve for each additional tool
Custom Integration: Maximum Control
Using Stripe's API and webhooks, developers can build completely custom checkout experiences. This is overkill for most no-code users, but it's worth knowing it exists if you eventually need very specific functionality.
Perfect for:
- Complex subscription models
- Marketplace platforms (like Airbnb or Uber)
- Businesses with unique payment requirements
Limitations:
- Requires coding knowledge or hiring a developer
- More complex to maintain
- Higher initial time investment
Now that you understand your options, let's get into the actual integration process for each major platform.
Demystifying No-Code Web Builders: The Basics
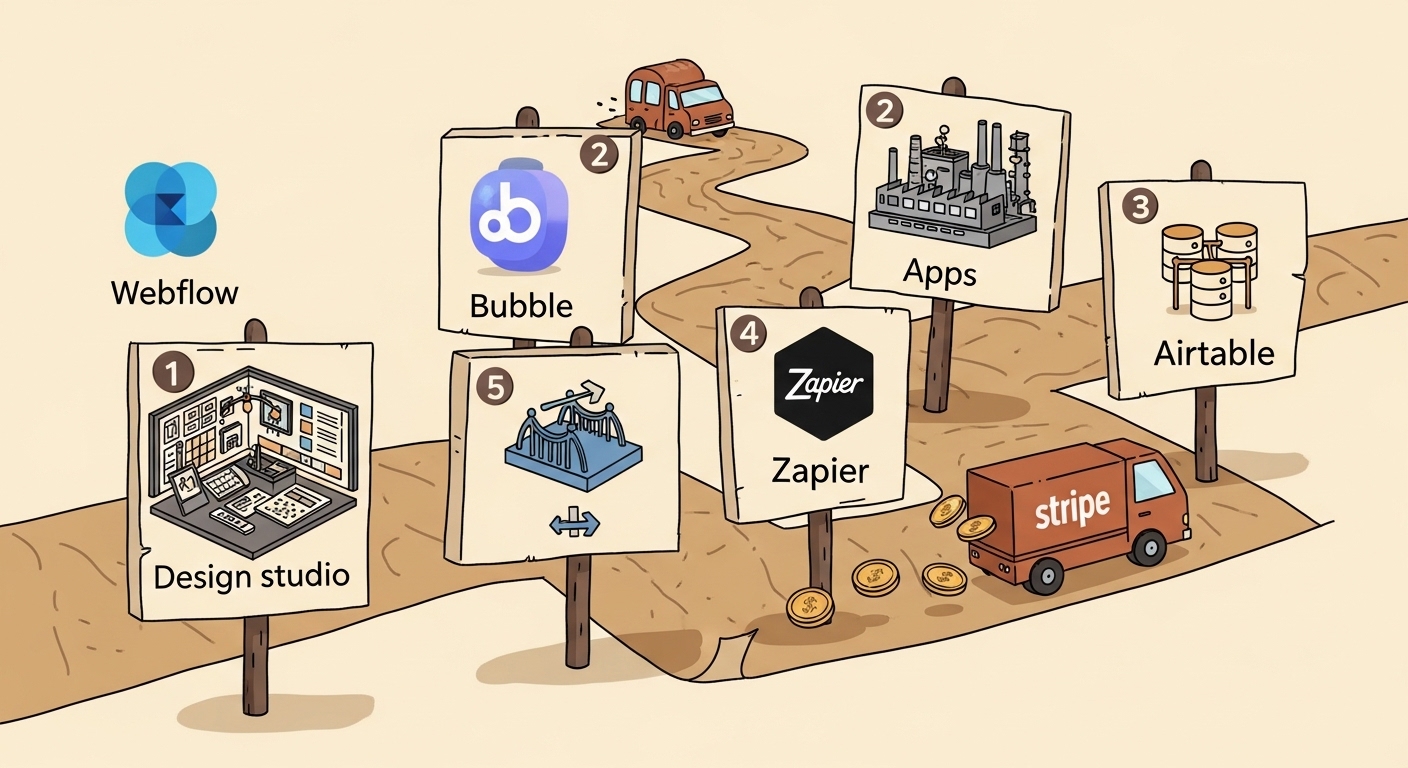
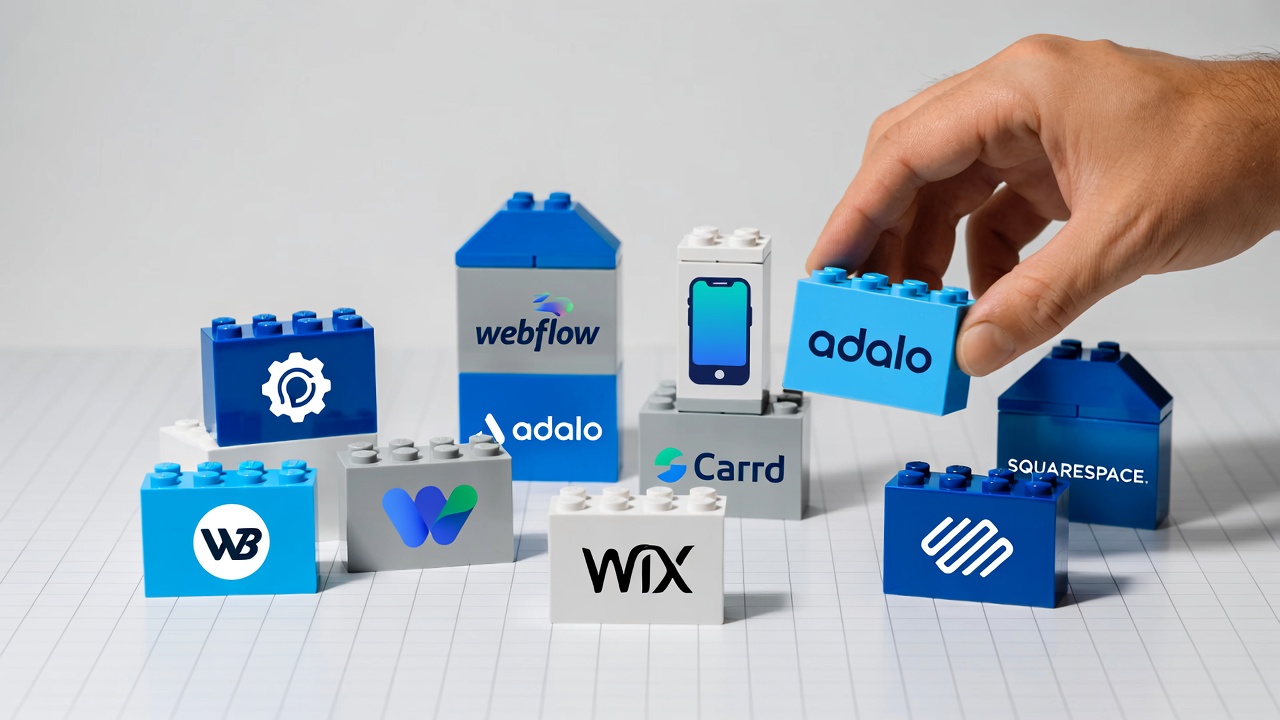
No-code web builders are like Lego sets for the internet. You drag and drop elements to create sites or apps without writing code. Tools like Bubble let you build full apps with databases, Webflow focuses on stunning designs, Adalo is great for mobile apps, and Carrd keeps it simple for landing pages.
These platforms exploded in popularity because they democratize tech. Anyone with an idea can launch something functional in days, not months. But adding payments? That's where integrations shine. Most no-code builders have built-in support or plugins for Stripe, meaning you connect accounts, tweak a few settings, and start selling.
Why Integrate Stripe into Your No-Code Setup?
Adding payments turns your site from a brochure into a storefront. Here's why Stripe fits no-code like a glove:
-
Ease of Use: No-code means no headaches. Stripe's dashboard is intuitive, and integrations often just need API keys (like secret passwords) copied over.
-
Real-Time Everything: See transactions instantly, handle refunds with a click, and get payouts to your bank weekly.
-
Scalability: Start small with one product, grow to subscriptions or global sales without rebuilding.
-
Security Built-In: Stripe handles PCI compliance (the rules for safe card data), so you don't risk hacks.
-
Cost Savings: Avoid building custom payment systems, which could cost thousands.
Real talk: Without payments, your site is just pretty pictures. With Stripe, it's a business engine.

Top No-Code Web Builders That Work Seamlessly with Stripe
Not all no-code tools are equal for payments. Here's a roundup of the best ones with Stripe support, based on popularity and ease.
-
Bubble: Great for dynamic apps. Native Stripe plugin handles one-time pays, subs, and marketplaces.
-
Webflow: Design-focused with e-commerce built-in. Native Stripe for carts, or embed custom checkouts.
-
Adalo: Mobile-first for apps. Stripe component for in-app purchases.
-
Carrd: Simple landing pages. Embed Stripe Checkout buttons easily.
-
Others Worth Mentioning: Typedream for notion-like sites, Softr for Airtable-powered apps, or Glide for Google Sheets-based mobile tools. All have Stripe hooks.
Pick based on your project, Bubble for complexity, Carrd for speed. Each has free tiers to test.
Step-by-Step Integration Guides
Let's get hands-on. We'll cover multiple methods where applicable, starting simple and scaling up. Always start in Stripe's test mode (toggle in your dashboard) using fake cards like 4242 4242 4242 4242 to avoid real charges.
Integrating Stripe with Webflow: Flexible Options for Designers
Webflow excels at beautiful sites with e-commerce baked in. Here's three ways to integrate, from quick to advanced.
Method 1: Payment Links (Quickest Start)
-
Sign up/verify your Stripe account (business details, ID, bank info).
-
In Stripe dashboard, go to Payment Links > Create: Add product name, price, description, logo, and post-payment redirect.
-
Copy the generated link.
-
In Webflow editor, select a button > Link Settings > Paste the URL (open in new tab).
-
Publish and test.
Perfect for testing ideas.
Method 2: Marketplace Apps (Like Flowout for Multi-Products)
- In Webflow Apps panel, search/install Flowout Stripe App.
- Connect your Stripe account.
- Create/import products in the app (name, price, type).
- Link products to Webflow buttons, the app handles updates automatically.
- Publish and test.
Great for managing inventory without switching tabs.
Method 3: Native E-Commerce (Full Stores) Requires an E-Commerce plan ($29+/month).
- In Webflow Settings > E-Commerce > Enable and connect Stripe.
- Create products in E-Commerce panel (name, images, price, variants).
- Add cart/checkout elements; customize pages.
- Test orders, then go live.
Supports subscriptions natively.
Integrating Stripe with Bubble: For Dynamic Apps
Bubble is a powerhouse for building apps with logic, and its Stripe integration is top-notch. Let's set up a basic payment flow.
-
Create Bubble account. Get Stripe test API keys.
-
In Bubble editor > Plugins > Add > Search "Stripe" (official, free).
-
Paste keys in settings; enable test mode.
-
In Stripe, create products/price IDs.
-
Build UI: Add button > Workflow > Plugins > Stripe > Charge or Create Session.
-
Handle post-payment actions (e.g., update user data).
For subs, use Subscribe action and webhooks. Check out Bubble's Stripe guide for more information.
Integrating Stripe with Wix: Beginner-Friendly E-Commerce
Wix makes Stripe integration remarkably simple, which is why it's popular with beginners. Here's how to set it up:
-
Add Wix Stores to your site.
-
Get Stripe API keys (publishable and secret).
-
In Wix Settings > Accept Payments > Connect Stripe (existing or new account).
-
Enable methods like cards, Apple Pay.
Add products; test with fake cards.
For subscriptions, set recurring in product setup. See Wix Help Center.
Integrating Stripe with Squarespace: Polished and Premium
Squarespace positions itself as a premium website builder, and its Stripe integration reflects that polished approach. You'll need a Squarespace Commerce plan to accept payments. If you're on a basic plan:
- Go to Settings → Billing & Account
- Upgrade to Commerce Basic or Commerce Advanced
- Complete the upgrade process
- Connect Stripe
- Add products in Shop section (name, images, price).
- Customize checkout; enable test mode.
- Test and launch.
Check both your Squarespace orders panel and Stripe dashboard to ensure the test order appears in both places.
Important Squarespace-Stripe Considerations One Account Per Site: Squarespace recommends using a separate Stripe account for each website you run. Connecting multiple Squarespace sites to one Stripe account can cause disconnection issues.
Subscription Products: Squarespace fully supports Stripe's subscription billing. When creating a product, select "Subscription" and configure your billing cycle.
International Selling: Check Stripe's supported countries list before selling internationally. While Stripe operates globally, some country combinations have restrictions.
Check out Squarespace Help for more.
Integrating Stripe with Adalo: Mobile Apps Made Easy
Adallo is for iOS/Android apps.
-
In Adalo builder > Marketplace > Add Stripe component.
-
Enter keys; ensure user login enabled.
-
Add button > Action > Stripe > Charge or Subscribe (with plan ID).
-
Preview, test, publish.
Ideal for in-app buys. Check Adalo Docs.
Integrating Stripe with Carrd: Minimalist Landing Pages
Carrd is a lightweight website builder designed for simple, one-page sites. Its Stripe integration is straightforward but requires a couple of extra
-
In Stripe, enable client-only integration and add your Carrd domain.
-
Create product > Copy Price ID and API keys.
-
In Carrd > Add Widget > Stripe Checkout > Paste IDs/keys.
-
Customize button; test.
For forms, enable payment on submit. Check out the Carrd Stripe Guide.
Advanced Features You Can Use Across Platforms
Once basic integration is working, you might want to enable some of Stripe's advanced features. Here's what's possible:
Multiple Currencies If you're selling internationally, you can accept payments in customers' local currencies:
- In your Stripe dashboard, go to Settings → Payment methods
- Enable "Adaptive Pricing" or configure specific currencies
- Stripe automatically shows customers prices in their currency
- You receive payouts in your default currency
- Stripe handles conversion at competitive rates
Most no-code platforms support multi-currency through Stripe automatically.
Tax Calculation Stripe Tax can automatically calculate and collect sales tax:
- In Stripe, go to Settings → Tax
- Enable Stripe Tax
- Register your tax IDs
- Configure tax settings for your jurisdictions
- Stripe automatically adds appropriate tax to transactions
Check if your no-code platform supports Stripe Tax. Webflow E-Commerce, Wix, and Squarespace all integrate with it.
Subscription Management
For recurring revenue businesses, Stripe's subscription features are powerful:
Subscriptions build reliable income. In Stripe, create recurring products. Bubble/Adalo: Use dedicated actions; webhooks for updates.
Webflow/Wix/Squarespace: Set in e-commerce; Stripe handles billing.
Carrd: Via recurring links.
Customer Portal: Stripe provides a customer portal where subscribers can:
- Update payment methods
- Change subscription plans
- Cancel subscriptions
- View billing history
Enable this in Stripe Settings → Customer portal. Most no-code platforms can link to this portal automatically.
Failed Payment Handling: Stripe automatically retries failed payments according to your settings. Configure retry logic in Stripe Settings → Billing → Subscriptions and emails.

Security Best Practices (Protecting Your Business and Customers)
Payment security isn't optional. Here's what you need to know:
-
Use HTTPS (all platforms support it). HTTPS encrypts data between customer browsers and your website. Without it, payment information could be intercepted. All major no-code platforms provide HTTPS automatically
-
Secure API keys, never share; rotate if exposed.
-
Enable 2FA on Stripe.
-
Use Stripe Radar for fraud. It's automatically enabled and uses machine learning to block fraudulent transactions
-
Avoid storing card data; let Stripe handle PCI.
-
Monitor dashboards weekly. From Stripe's Security Page.

Common Problems and How to Fix Them
Even with no-code tools, you might hit snags. Here are solutions to the most common issues:
-
"Payment Not Showing Up" Problem: Toggle the "Viewing test data" switch in Stripe dashboard
-
"Invalid API Key" Error: Verify you're not mixing test and live keys
-
"Webhook Not Working" Issue: Verify URLs/signatures.
-
"International Payments Failing" Issue: Enable international cards in Stripe settings
-
"Multiple Stripe Accounts Conflicting" Problem: Use separate Stripe accounts for each website/business
-
"Payment Button Does Nothing" Issue : Verify the Payment Link or Price ID is correct
Wrapping It Up: Launch Your No-Code Payment System Today
You've got the full playbook to integrate Stripe and start earning. The beautiful thing about no-code Stripe integration is that you can be accepting payments by dinner time today. Whether you're selling your first product or your thousandth, the fundamental process is the same: connect your Stripe account, add payment buttons to your site, and start collecting money.
Pick a platform, follow the steps, test thoroughly, and go live. It's empowering to build a business without barriers, start small and watch it grow.
Windframe is an AI visual editor for rapidly building stunning web UIs & websites
Start building stunning web UIs & websites!
