How to use Nextjs Api Route
By Emmanuel Chinonso - Frontend Engineer and Technical Writer at Windframe

When you first hear API routes in Nextjs, it sounds like something only back-end engineers would touch. But here’s the secret: Nextjs makes working with APIs ridiculously straightforward. You don’t need a separate server, you don’t need to spin up Express, and you don’t need to juggle multiple projects. Everything is baked right in.
In this guide, we’ll explore what API routes are, how they work, practical use cases, and step-by-step examples. Whether you’re a beginner dipping your toes into full-stack development or a builder who wants to ship features fast, this post will give you everything you need to master Next.js API routes.
So grab your coffee (or tea, if you’re fancy) and let’s dig in.
What Are Nextjs API Routes?
Think of API routes as your project’s built-in mini back-end. They allow you to create RESTful endpoints directly inside your Next.js app, without setting up a separate server.
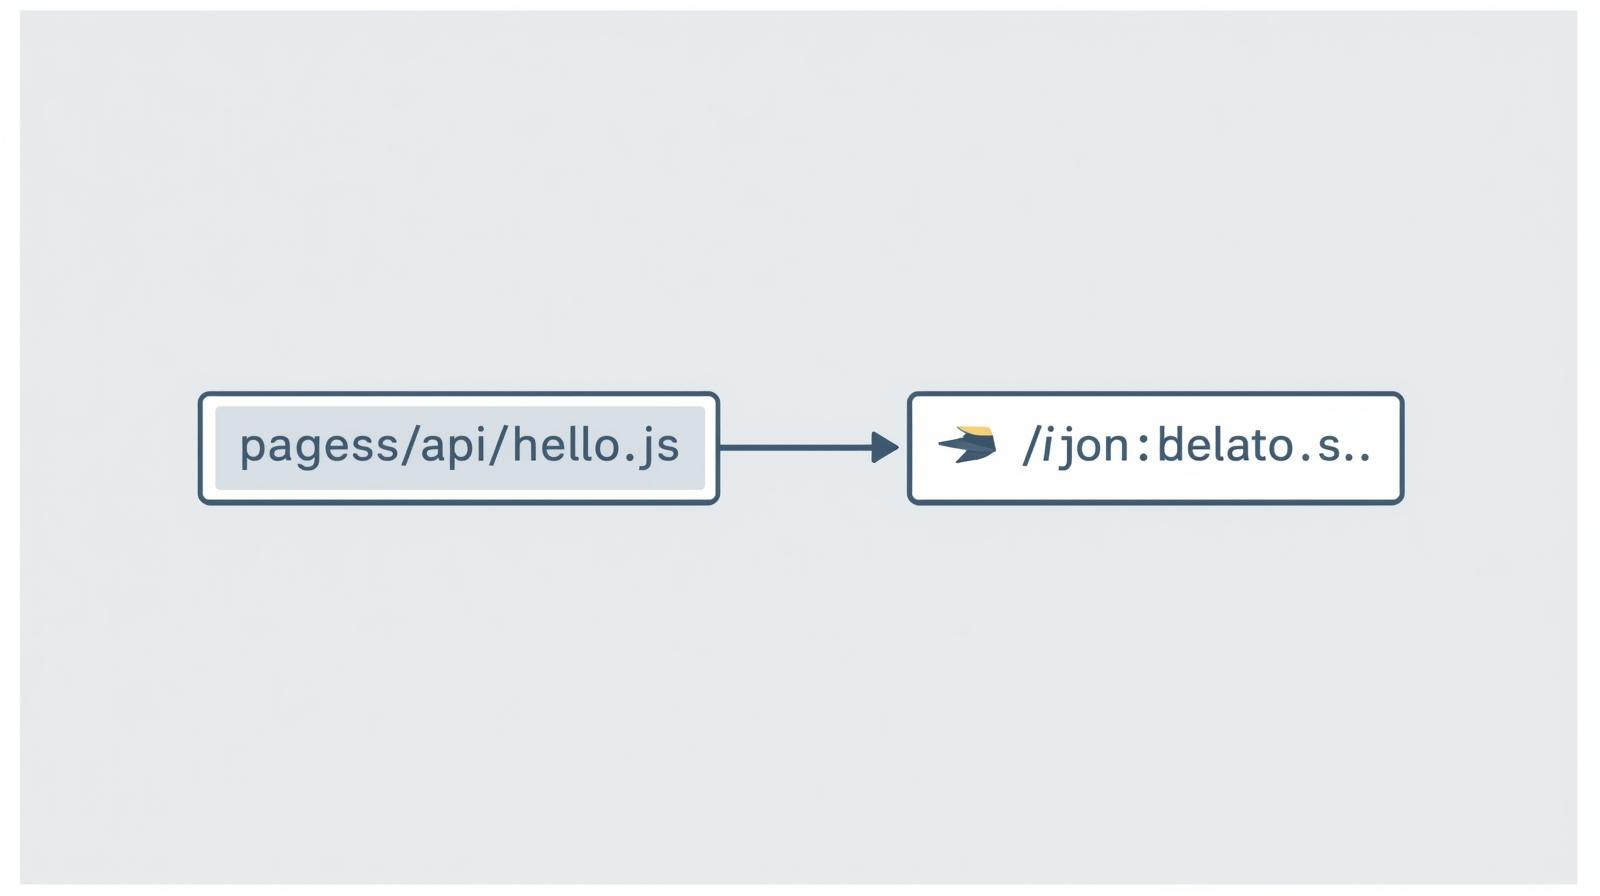
A typical API route lives inside the pages/api folder. Each file becomes an endpoint. For example:
1/pages/api/hello.js
This file is automatically available at:
1http://localhost:3000/api/hello
Simple as that. No server configuration. No frameworks. Just Next.js handling the heavy lifting.
Why Use API Routes?
You might be wondering: Why not just use a dedicated back-end like Express, NestJS, or Django?
Here’s why API routes are powerful:
-
Zero setup → You don’t need to maintain a separate server.
-
Co-location → Your API and frontend live in the same codebase.
-
Serverless-friendly → On platforms like Vercel, each route becomes a serverless function, scaling automatically.
-
Perfect for small to medium apps → Great for forms, authentication, and quick integrations.
Of course, if you’re building the next Twitter, you might outgrow this and need a full backend. But for 90% of modern web apps, API routes are more than enough.
How API Routes Work
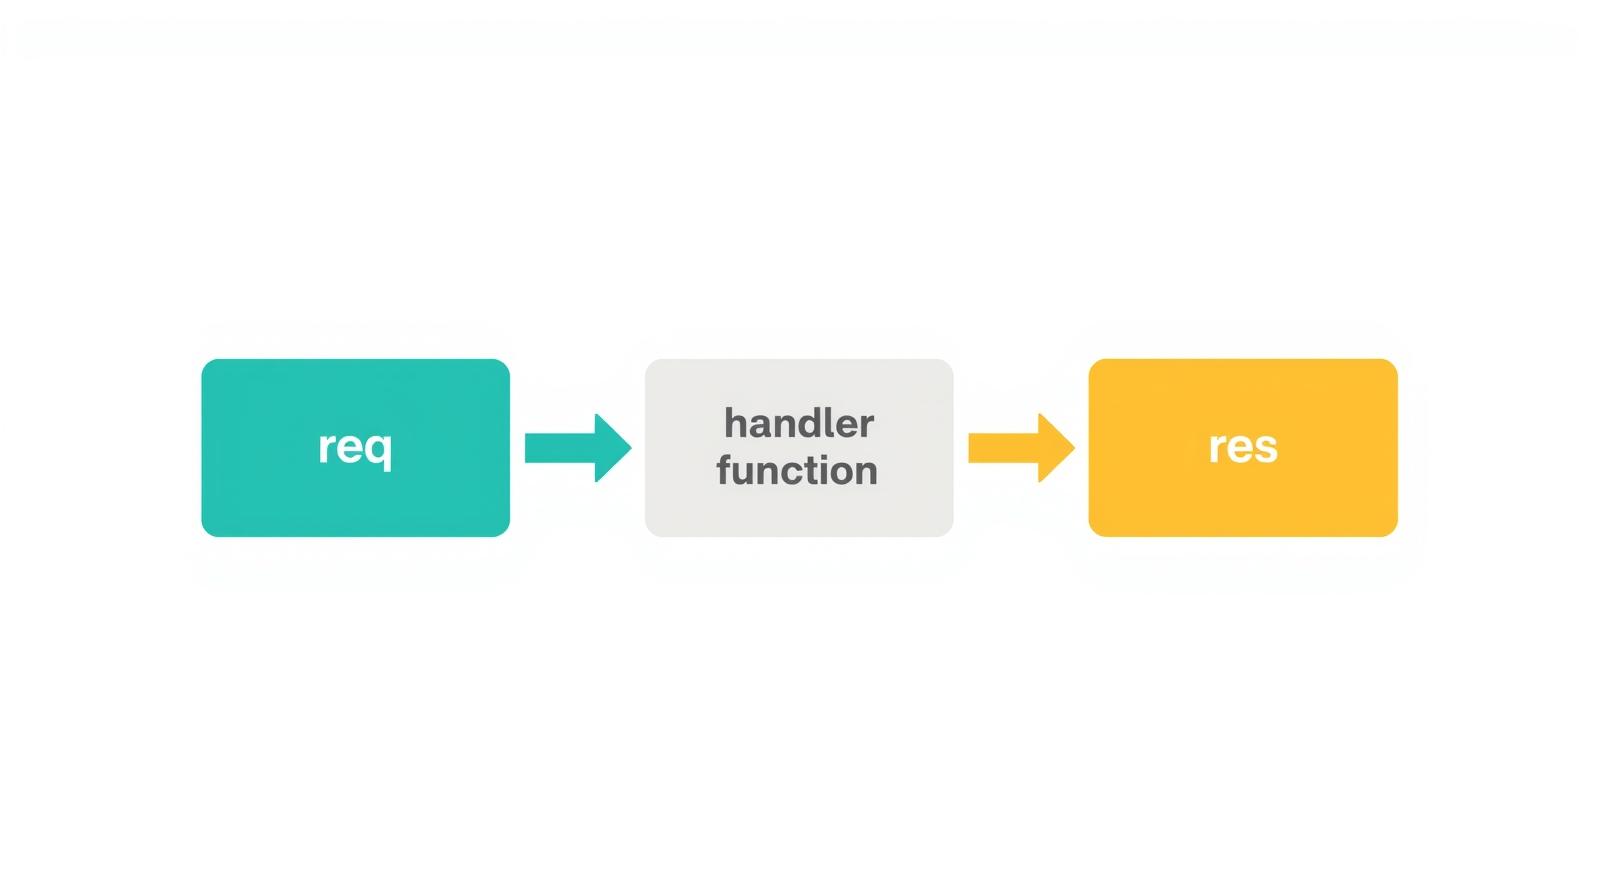
Every API route exports a function that receives two objects:
1export default function handler(req, res) {2 res.status(200).json({ message: "Hello from Next.js API route!" });3}
-
req (Request) → contains data about the incoming request (method, headers, body, query, etc.)
-
res (Response) → used to send data back to the client (status codes, JSON, etc.)
That’s it. This single function powers your endpoint.
Practical Use Cases
Here’s where API routes shine:
-
Form handling – Capture contact form submissions and store them (or email them).
-
Authentication – Handle login, logout, and session checks.
-
Fetching data from external APIs – Hide your API keys and fetch securely.
-
Database operations – Perform CRUD actions without exposing credentials on the client.
-
Webhooks – Receive events from services like Stripe, GitHub, or Slack.
Example 1: Handling GET and POST Requests
Let’s create an endpoint that both reads and saves data.
pages/api/notes.js:
1let notes = []; // in-memory storage for demo purposes23export default function handler(req, res) {4 if (req.method === "GET") {5 res.status(200).json(notes);6 } else if (req.method === "POST") {7 const note = req.body.note;8 if (!note) {9 return res.status(400).json({ error: "Note is required" });10 }11 notes.push(note);12 res.status(201).json({ success: true, note });13 } else {14 res.status(405).json({ error: "Method not allowed" });15 }16}
-
GET /api/notes → returns all notes.
-
POST /api/notes → adds a note to the list.
Now you have a working mini API, right inside your Next.js app.
Example 2: Connecting to a Database
In real life, you won’t just store notes in memory. Let’s integrate MongoDB:
Install dependency:
1npm install mongodb
lib/mongodb.js:
1import { MongoClient } from "mongodb";23const uri = process.env.MONGODB_URI;4const options = {};56let client;7let clientPromise;89if (!process.env.MONGODB_URI) {10 throw new Error("Please add your Mongo URI to .env.local");11}1213if (process.env.NODE_ENV === "development") {14 // Reuse client in dev mode to avoid creating new connections on hot reload15 if (!global._mongoClientPromise) {16 client = new MongoClient(uri, options);17 global._mongoClientPromise = client.connect();18 }19 clientPromise = global._mongoClientPromise;20} else {21 client = new MongoClient(uri, options);22 clientPromise = client.connect();23}2425export default clientPromise;
pages/api/notes.js:
1import clientPromise from "../../lib/mongodb";23export default async function handler(req, res) {4 const client = await clientPromise;5 const db = client.db("nextjs-demo");6 const notesCollection = db.collection("notes");78 if (req.method === "GET") {9 const notes = await notesCollection.find({}).toArray();10 res.status(200).json(notes);11 } else if (req.method === "POST") {12 const { note } = req.body;13 if (!note) return res.status(400).json({ error: "Note is required" });1415 const result = await notesCollection.insertOne({ note });16 res.status(201).json(result);17 } else {18 res.status(405).json({ error: "Method not allowed" });19 }20}
Now your notes are stored in MongoDB, and you have a real, production-ready API.
Example 3: Hiding API Keys
Imagine you need to fetch weather data from an external API. Instead of exposing your API key in the frontend, do it in an API route:
pages/api/weather.js:
1export default async function handler(req, res) {2 const city = req.query.city || "London";3 const apiKey = process.env.WEATHER_API_KEY;45 const response = await fetch(6 `https://api.openweathermap.org/data/2.5/weather?q=${city}&appid=${apiKey}`7 );8 const data = await response.json();910 res.status(200).json(data);11}
Now your frontend can call /api/weather?city=Paris without ever revealing the API key.
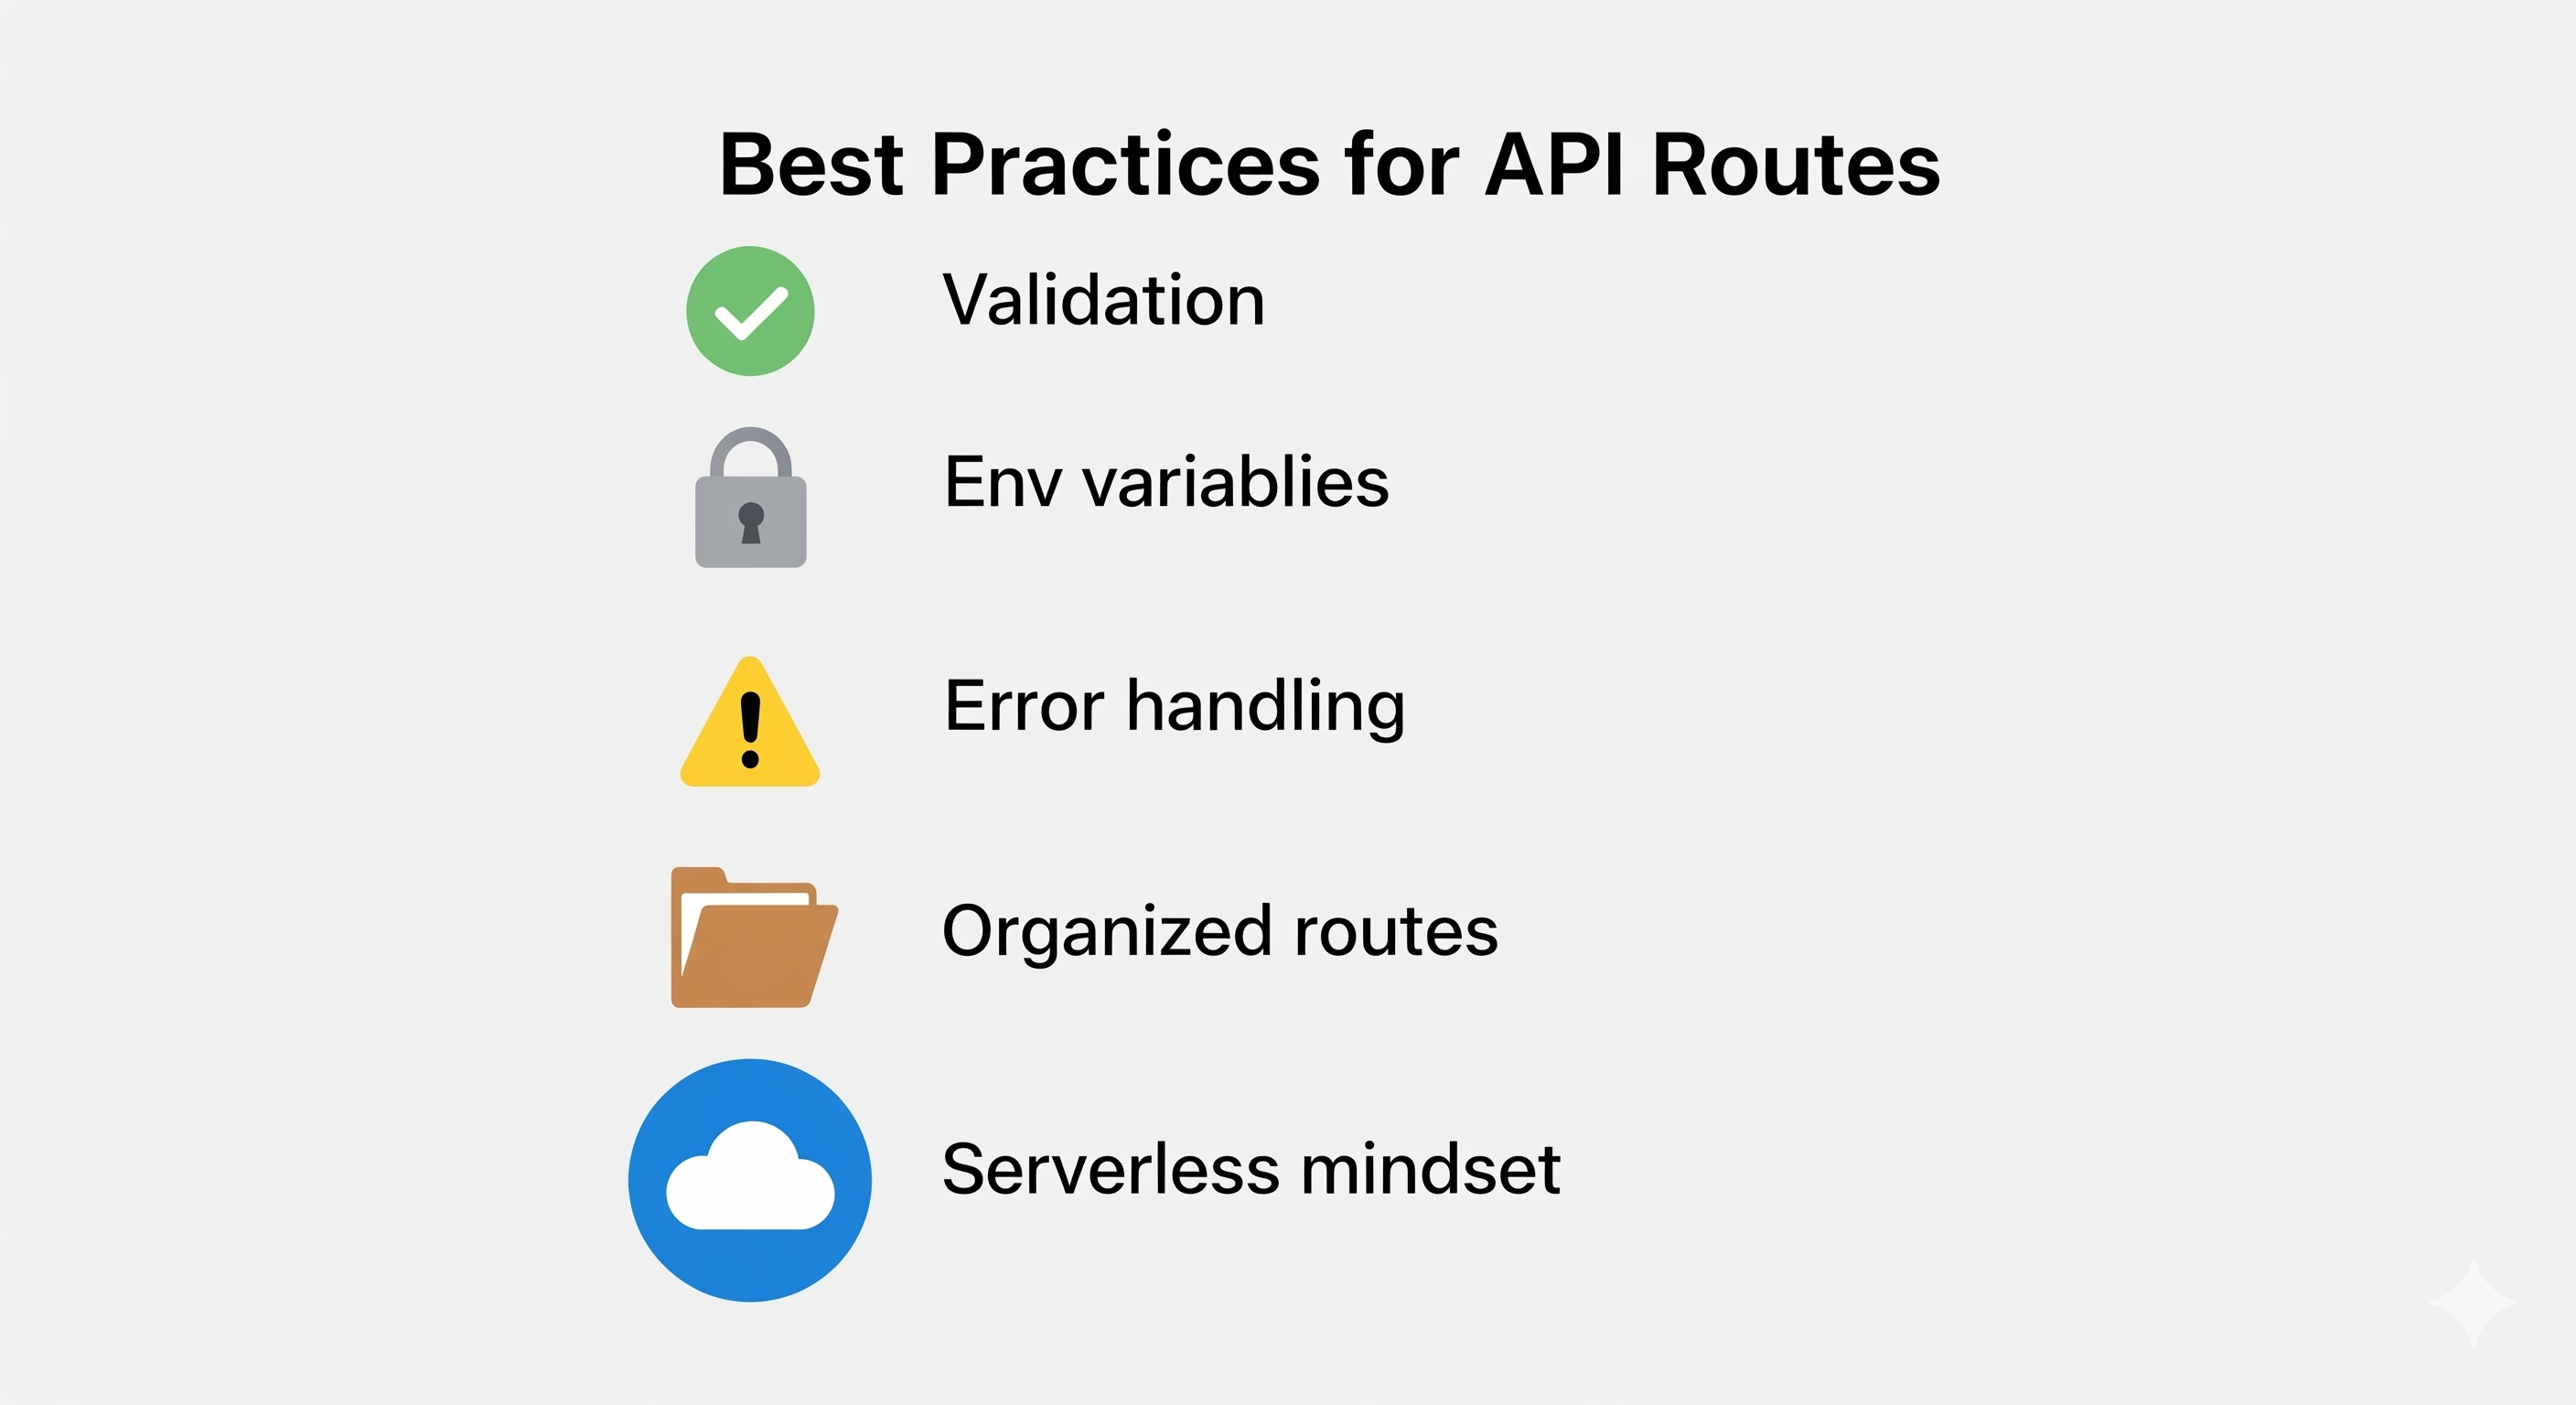
Best Practices for API Routes
-
Validation is key → Always validate incoming data to avoid errors or abuse.
-
Use environment variables → Never hardcode secrets or keys.
-
Error handling → Always send clear error messages and use proper status codes.
-
Organize your routes → For larger apps, group routes logically (/api/auth/login, /api/auth/logout).
-
Think serverless → Remember that on Vercel, each API route is its own serverless function. Keep functions lightweight and fast.
When Not to Use API Routes
API routes are great, but they’re not a silver bullet. Don’t use them if:
-
You need heavy background jobs (use a dedicated server or queue).
-
You’re building a massive API serving multiple clients (better to spin up a real backend).
-
Your app requires long-lived connections like WebSockets (serverless isn’t ideal here).
Conclusion
Next.js API routes hit a sweet spot: they let frontend developers dip into backend functionality without friction. You can handle forms, connect to a database, integrate APIs, or secure your keys, all in the same project.
For small to medium projects (and even many production apps), this built-in approach saves time, reduces complexity, and pairs perfectly with the serverless model of modern hosting.
So the next time someone tells you Next.js is “just for frontends,” you can smile and say: “Well, actually, it does backends too, built right in.”
Windframe is an AI visual editor for rapidly building stunning web UIs & websites
Start building stunning web UIs & websites!
