How to Create a RESTful API Using Flask
By Emmanuel Chinonso - Frontend Engineer and Technical Writer at Windframe

When people talk about Flask, they usually mention how lightweight it is, you can spin up a working app with just a few lines of Python. That’s true, but once you start building a RESTful API, the real work begins: organizing your project, validating input, handling errors, testing, and thinking ahead to deployment. This walkthrough covers those parts with code you can actually run.
Why Flask Works Well for APIs
Flask doesn’t force you into a particular project structure. You get routing, request handling, and extensions for the rest. That makes it ideal if you want flexibility or if you’re integrating Python-heavy workloads (data science, ML, analytics).
The trade-off is that you’re responsible for choosing tools for things like validation, database access, and authentication. Some developers love that flexibility; others find it overwhelming. If you want an async-first framework that generates docs for you, FastAPI is worth checking out. But for many CRUD-heavy projects where Python integration matters, Flask still does the job well, especially when compared against alternatives like Node.js in our Flask vs Node.js backend comparison for 2026.
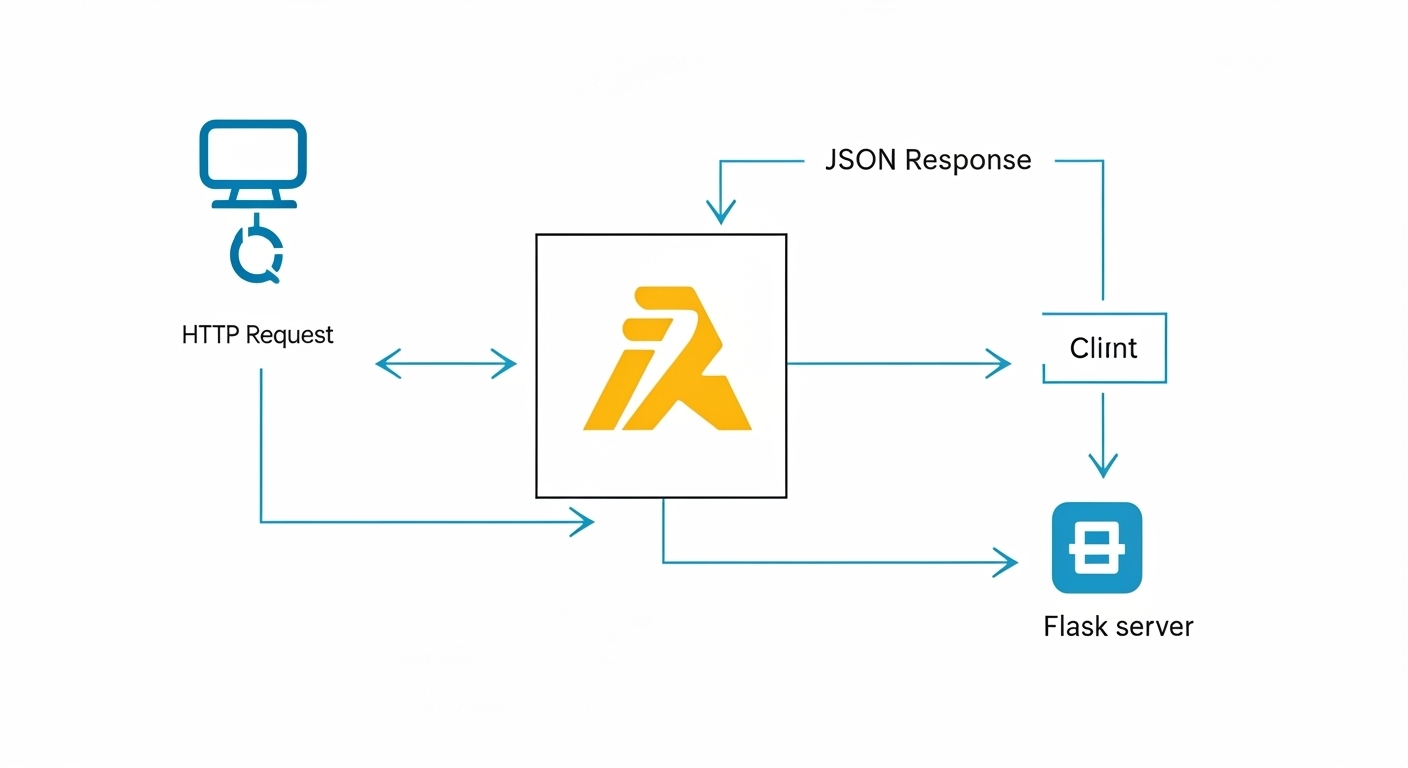
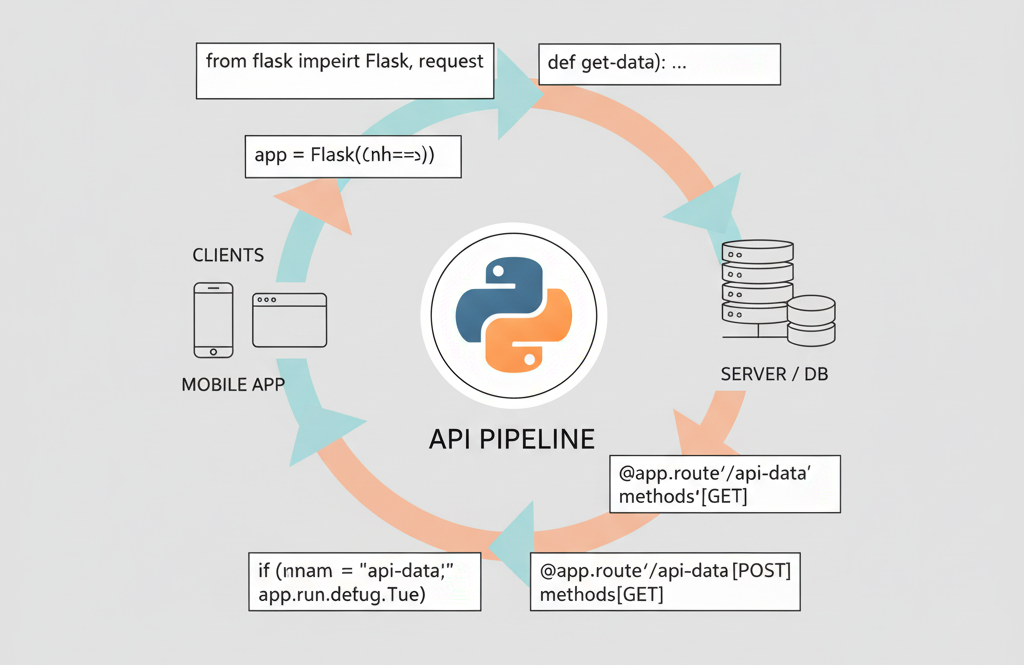
First Endpoint: Build It and Run It
Here’s a barebones setup that gets you a working API.
Install dependencies:
1python -m venv .venv2source .venv/bin/activate
1pip install Flask flask-sqlalchemy flask-migrate marshmallow flask-marshmallow flask-cors
app.py:
1from flask import Flask, request, jsonify, abort2from flask_sqlalchemy import SQLAlchemy3from flask_migrate import Migrate4from marshmallow import Schema, fields, ValidationError5from flask_cors import CORS67app = Flask(__name__)8app.config["SQLALCHEMY_DATABASE_URI"] = "sqlite:///app.db"9app.config["SQLALCHEMY_TRACK_MODIFICATIONS"] = False1011CORS(app)12db = SQLAlchemy(app)13migrate = Migrate(app, db)1415# Model16class Item(db.Model):17 id = db.Column(db.Integer, primary_key=True)18 name = db.Column(db.String(120), nullable=False)19 description = db.Column(db.String(500), default="")2021# Schema22class ItemSchema(Schema):23 id = fields.Int(dump_only=True)24 name = fields.Str(required=True)25 description = fields.Str()2627item_schema = ItemSchema()28items_schema = ItemSchema(many=True)2930# Routes31@app.route("/items", methods=["GET"])32def list_items():33 return jsonify(items_schema.dump(Item.query.all()))3435@app.route("/items", methods=["POST"])36def create_item():37 try:38 data = item_schema.load(request.json)39 except ValidationError as err:40 return jsonify({"errors": err.messages}), 40041 item = Item(**data)42 db.session.add(item)43 db.session.commit()44 return item_schema.jsonify(item), 2014546@app.route("/items/<int:item_id>", methods=["GET"])47def get_item(item_id):48 item = Item.query.get_or_404(item_id)49 return item_schema.jsonify(item)
Run it with flask run. You now have endpoints for:
-
GET /items -
POST /items -
GET /items/<id>
It’s not fancy, but it’s enough to see how things connect.
Organizing the Project
A single file won’t cut it once your API grows. A cleaner setup looks like this:
1myapi/2├─ app/3│ ├─ __init__.py # create_app factory4│ ├─ config.py5│ ├─ models.py6│ ├─ schemas.py7│ ├─ routes/8│ │ ├─ items.py9│ ├─ services/10│ │ └─ item_service.py11│ └─ errors.py12├─ migrations/13├─ tests/14└─ manage.py
Models, schemas, and routes live in their own spots. Business logic goes in services/. It feels like overkill at first, but the benefits show up fast when your API has 20+ endpoints.
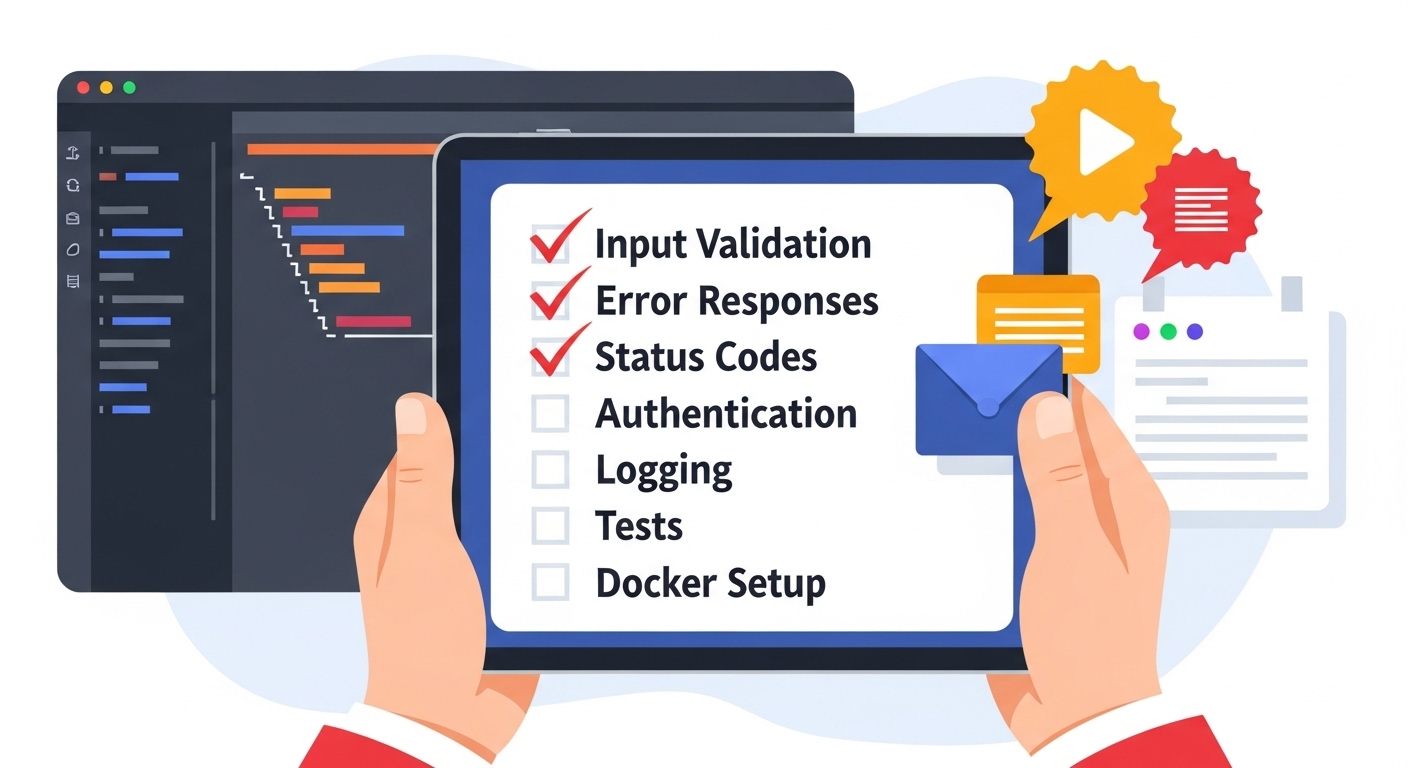
Pieces You Don’t Want to Skip
Validation
Use Marshmallow schemas to reject bad data. Validate on input, serialize on output.
Error Handling
Return JSON consistently. For example:
1{2 "errors": {"name": ["Missing data for required field."]}3}
Pagination & Filtering
Never return thousands of rows at once. Paginate with safe defaults (per_page=20) and add simple filters.
Authentication
JWT tokens are common. For bigger projects, use an identity provider like Auth0 or Okta and just validate tokens in Flask.
Security
-
Limit origins with flask-cors in production.
-
Add rate limiting with flask-limiter.
-
Don’t run the Flask dev server in production. Use Gunicorn or uWSGI.
-
Apply security headers with Flask-Talisman.
Testing the API
pytest works well with Flask’s test client.
1def test_create_item(client):2 res = client.post("/items", json={"name": "Coffee"})3 assert res.status_code == 2014 data = res.get_json()5 assert data["name"] == "Coffee"
Tests like this stop regressions before they hit production.
Docker and Deployment
Here’s a minimal Dockerfile:
1FROM python:3.11-slim2WORKDIR /app3COPY requirements.txt .4RUN pip install -r requirements.txt5COPY . .6CMD ["gunicorn", "app:create_app()", "-w", "4", "-b", "0.0.0.0:8000"]
This runs the app under Gunicorn with 4 workers. You can drop it onto ECS, Cloud Run, or any container-friendly platform.
Quick Checklist Before You Ship
-
Input validation
-
Consistent error responses
-
Correct HTTP status codes
-
Authentication + rate limiting
-
Logging and monitoring hooks
-
Automated tests
-
Docker setup + proper WSGI server
Conclusion
Flask is small on purpose, but with the right pieces, validation, error handling, tests, and deployment setup, it scales into something reliable. Start with the basics above, then layer in the practices that make sense for your project.
Windframe is an AI visual editor for rapidly building stunning web UIs & websites
Start building stunning web UIs & websites!
