How to Convert a WordPress Website to Tailwind CSS
By Emmanuel Chinonso - Frontend Engineer and Technical Writer at Windframe

Migrating a WordPress website to Tailwind CSS allows for cleaner, faster, and more maintainable frontend development. Traditional WordPress themes often rely on large, prebuilt CSS files that slow down performance and limit design flexibility. Tailwind takes a different approach, offering a utility-first system that gives developers complete control over the interface while keeping the codebase lightweight.
If you’re comfortable working with basic WordPress theme files, you’ll have no trouble following along. Let’s walk through everything step by step.
Why Switch to Tailwind CSS in WordPress
WordPress themes are powerful but often come with unnecessary CSS overhead, sometimes hundreds of unused selectors. Tailwind flips that by letting you build layouts using small, reusable utility classes like spacing, color, and typography helpers, a key reason Tailwind CSS outperforms traditional CSS frameworks in flexibility and performance. You design directly in your HTML or PHP templates, keeping things fast and organized.
Here’s what a Tailwind-styled heading looks like:
1<h1 class="text-4xl font-bold text-gray-900">Hello World</h1>
One line handles font size, weight, and color, no external stylesheet required. The result is a cleaner workflow and faster site performance.
Step 1: Create a Child Theme
Before modifying an existing theme, create a child theme to ensure that updates to the parent theme do not overwrite your changes.
-
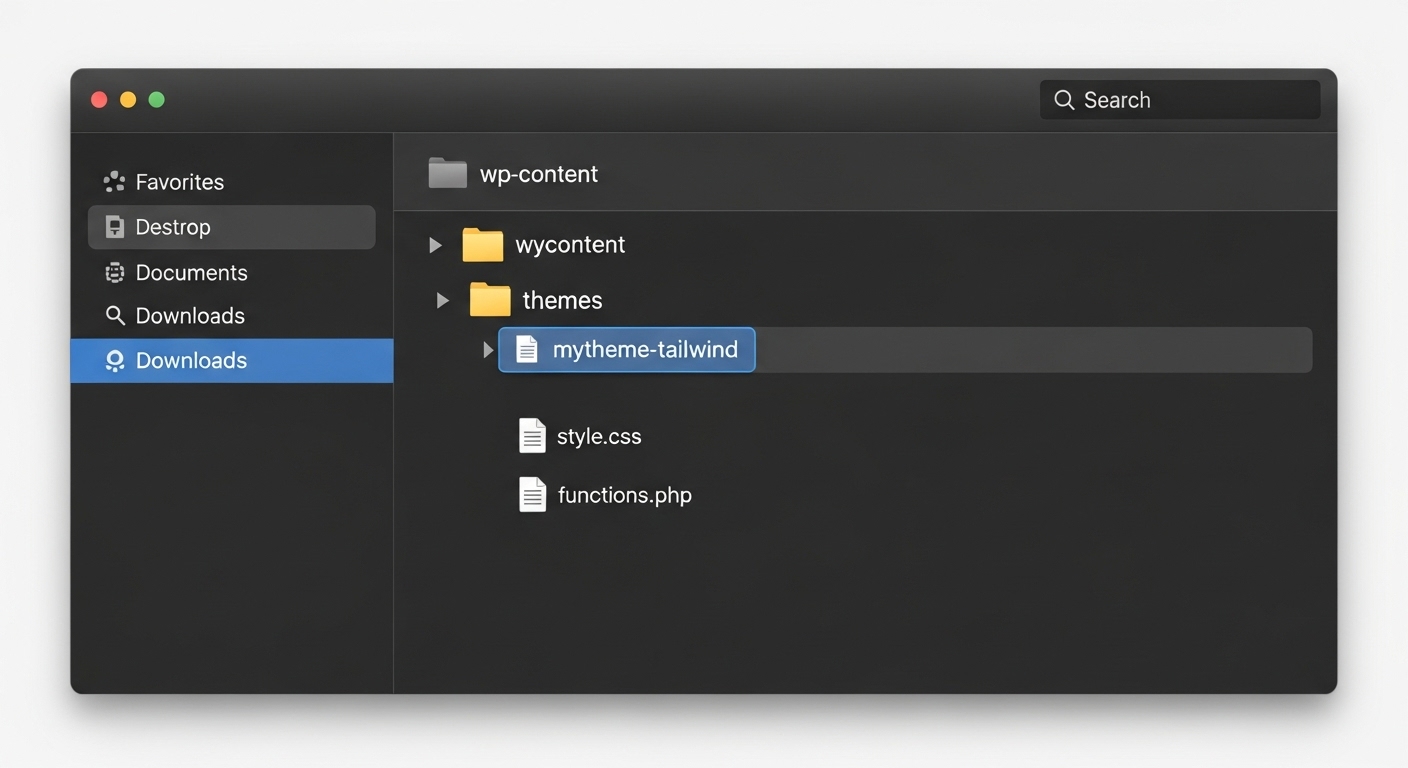
Navigate to
wp-content/themes/. -
Create a new folder, for example: mytheme-tailwind.
-
Inside the folder, create two files:
style.css
functions.php
In style.css, define the basic theme information:
1/*2Theme Name: My Theme Tailwind3Template: your-parent-theme4*/
Activate this child theme under Appearance → Themes in your WordPress dashboard.
Step 2: Install Node.js and NPM
Tailwind CSS relies on Node.js for its build tools. Check if Node and NPM are installed by running:
1node -v2npm -v
If they are missing, download and install them from nodejs.org
Step 3: Initialize Tailwind CSS
From your child theme directory, run the following commands:
1npm init -y2npm install tailwindcss postcss autoprefixer3npx tailwindcss init
These commands set up a Node environment, install Tailwind and its dependencies, and create a configuration file named tailwind.config.js, if this is your first time, you may want to start with setting up your first Tailwind CSS project.
Then, create a postcss.config.js file in the same folder and add:
1module.exports = {2 plugins: {3 tailwindcss: {},4 autoprefixer: {},5 },6};
This configuration ensures that Tailwind and Autoprefixer process your CSS correctly.
Step 4: Create and Configure Your Tailwind CSS Source File
Inside your theme directory, create a folder named src and a file inside it called input.css. Add the Tailwind directives:
1@tailwind base;2@tailwind components;3@tailwind utilities;
Next, tell Tailwind which files to scan for class names.
In tailwind.config.js, edit the content section:
1content: [2 "./*.php",3 "./**/*.php",4 "./src/**/*.js",5],
This setup ensures Tailwind removes unused styles during the build process, keeping your CSS output minimal.
Step 5 Build the Tailwind Output File
Add a build command to your package.json file:
1"scripts": {2 "build": "npx tailwindcss -i ./src/input.css -o ./style.css --watch"3}
Then, run:
1npm run build
Tailwind will compile input.css into a single style.css file, located in your theme’s root directory. This is the stylesheet WordPress will use.
Step 7: Enqueue the Compiled Stylesheet in WordPress
Open your functions.php file and enqueue the new stylesheet:
1function my_tailwind_theme_styles() {2 wp_enqueue_style('tailwind', get_stylesheet_uri(), array(), '1.0');3}4add_action('wp_enqueue_scripts', 'my_tailwind_theme_styles');
This step ensures WordPress loads your Tailwind-generated CSS file properly on every page.
Step 8: Apply Tailwind Classes in Your Templates
With Tailwind active, you can now replace existing class names and inline styles in your theme templates.
For example, instead of using a generic class:
1<div class="header-section">2 <h1>Welcome</h1>3</div>
You can use Tailwind utilities:
1<div class="bg-gray-100 py-12 text-center">2 <h1 class="text-4xl font-semibold text-gray-900">Welcome</h1>3</div>
Work through your header.php, footer.php, and template files one at a time. This approach lets you modernize the design incrementally without breaking existing layouts.
Step 9: Optimize for Production
When your site is ready for deployment, create a minified production build. Run the following command:
1NODE_ENV=production npx tailwindcss -o ./style.css --minify
Tailwind will automatically remove all unused classes, reducing your CSS file size significantly.
Step 10: Test and Validate
After compilation, check your site in multiple browsers and on various devices. Confirm that:
-
All styles are loading correctly
-
Responsive breakpoints behave as expected
-
Performance scores have improved
Use tools such as Lighthouse, PageSpeed Insights, or GTmetrix for accurate performance testing.
Conclusion
Converting a WordPress theme to Tailwind CSS gives you a modern, efficient frontend workflow. You’ll write less CSS, design directly in your markup, and maintain a lighter, faster website overall.
Once you’ve set everything up, adding or changing layouts becomes effortless, no bloated CSS files, no overwriting theme styles. Just clean, responsive design right where you need it.
Windframe is an AI visual editor for rapidly building stunning web UIs & websites
Start building stunning web UIs & websites!
